Links
- Diabolo rings
- LED stick attachment CAD
- BoM for custom sticks
- CAD for custom sticks
- Code for custom sticks
- Soldering/wiring image can be seen here
Now onto how I got here…
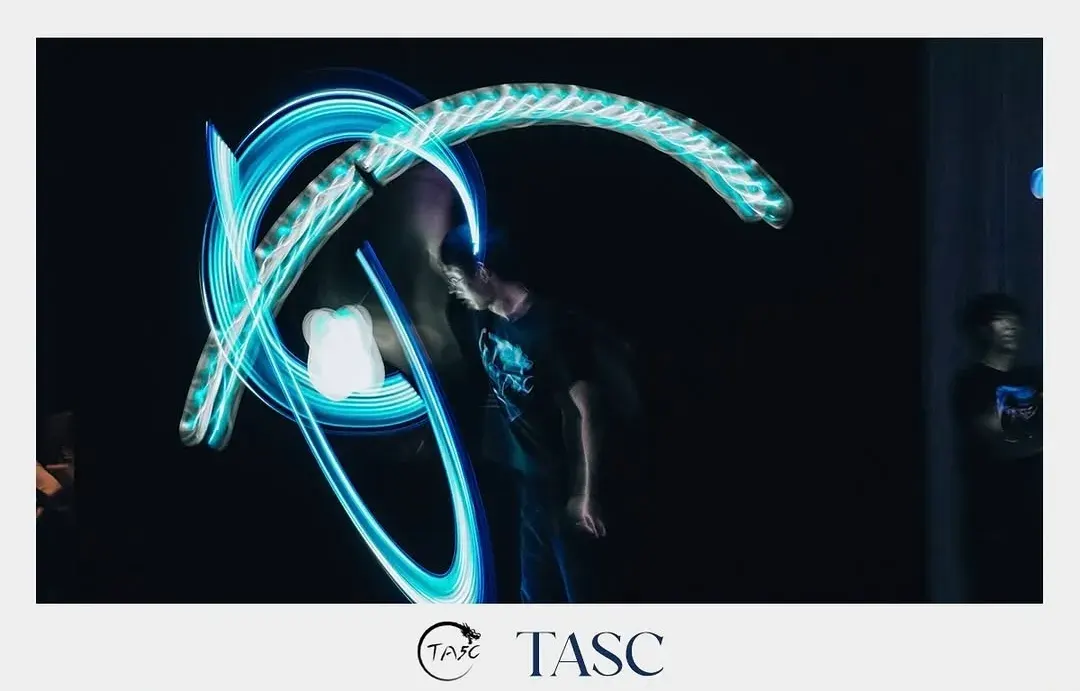
I think that most people can agree that everything looks better if you add LEDs to it, and diabolo is no exception.
However, I have an issue: Sundia’s LED stick attachments are way to easy to break (especially if you hit the ground with them).
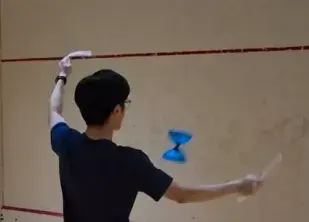
Since I wanted to do integrals with them (since I’m not good at vertax), I took it upon myself to make my own.
And thus began the quest for the unbreakable LED sticks…
A humble beginning
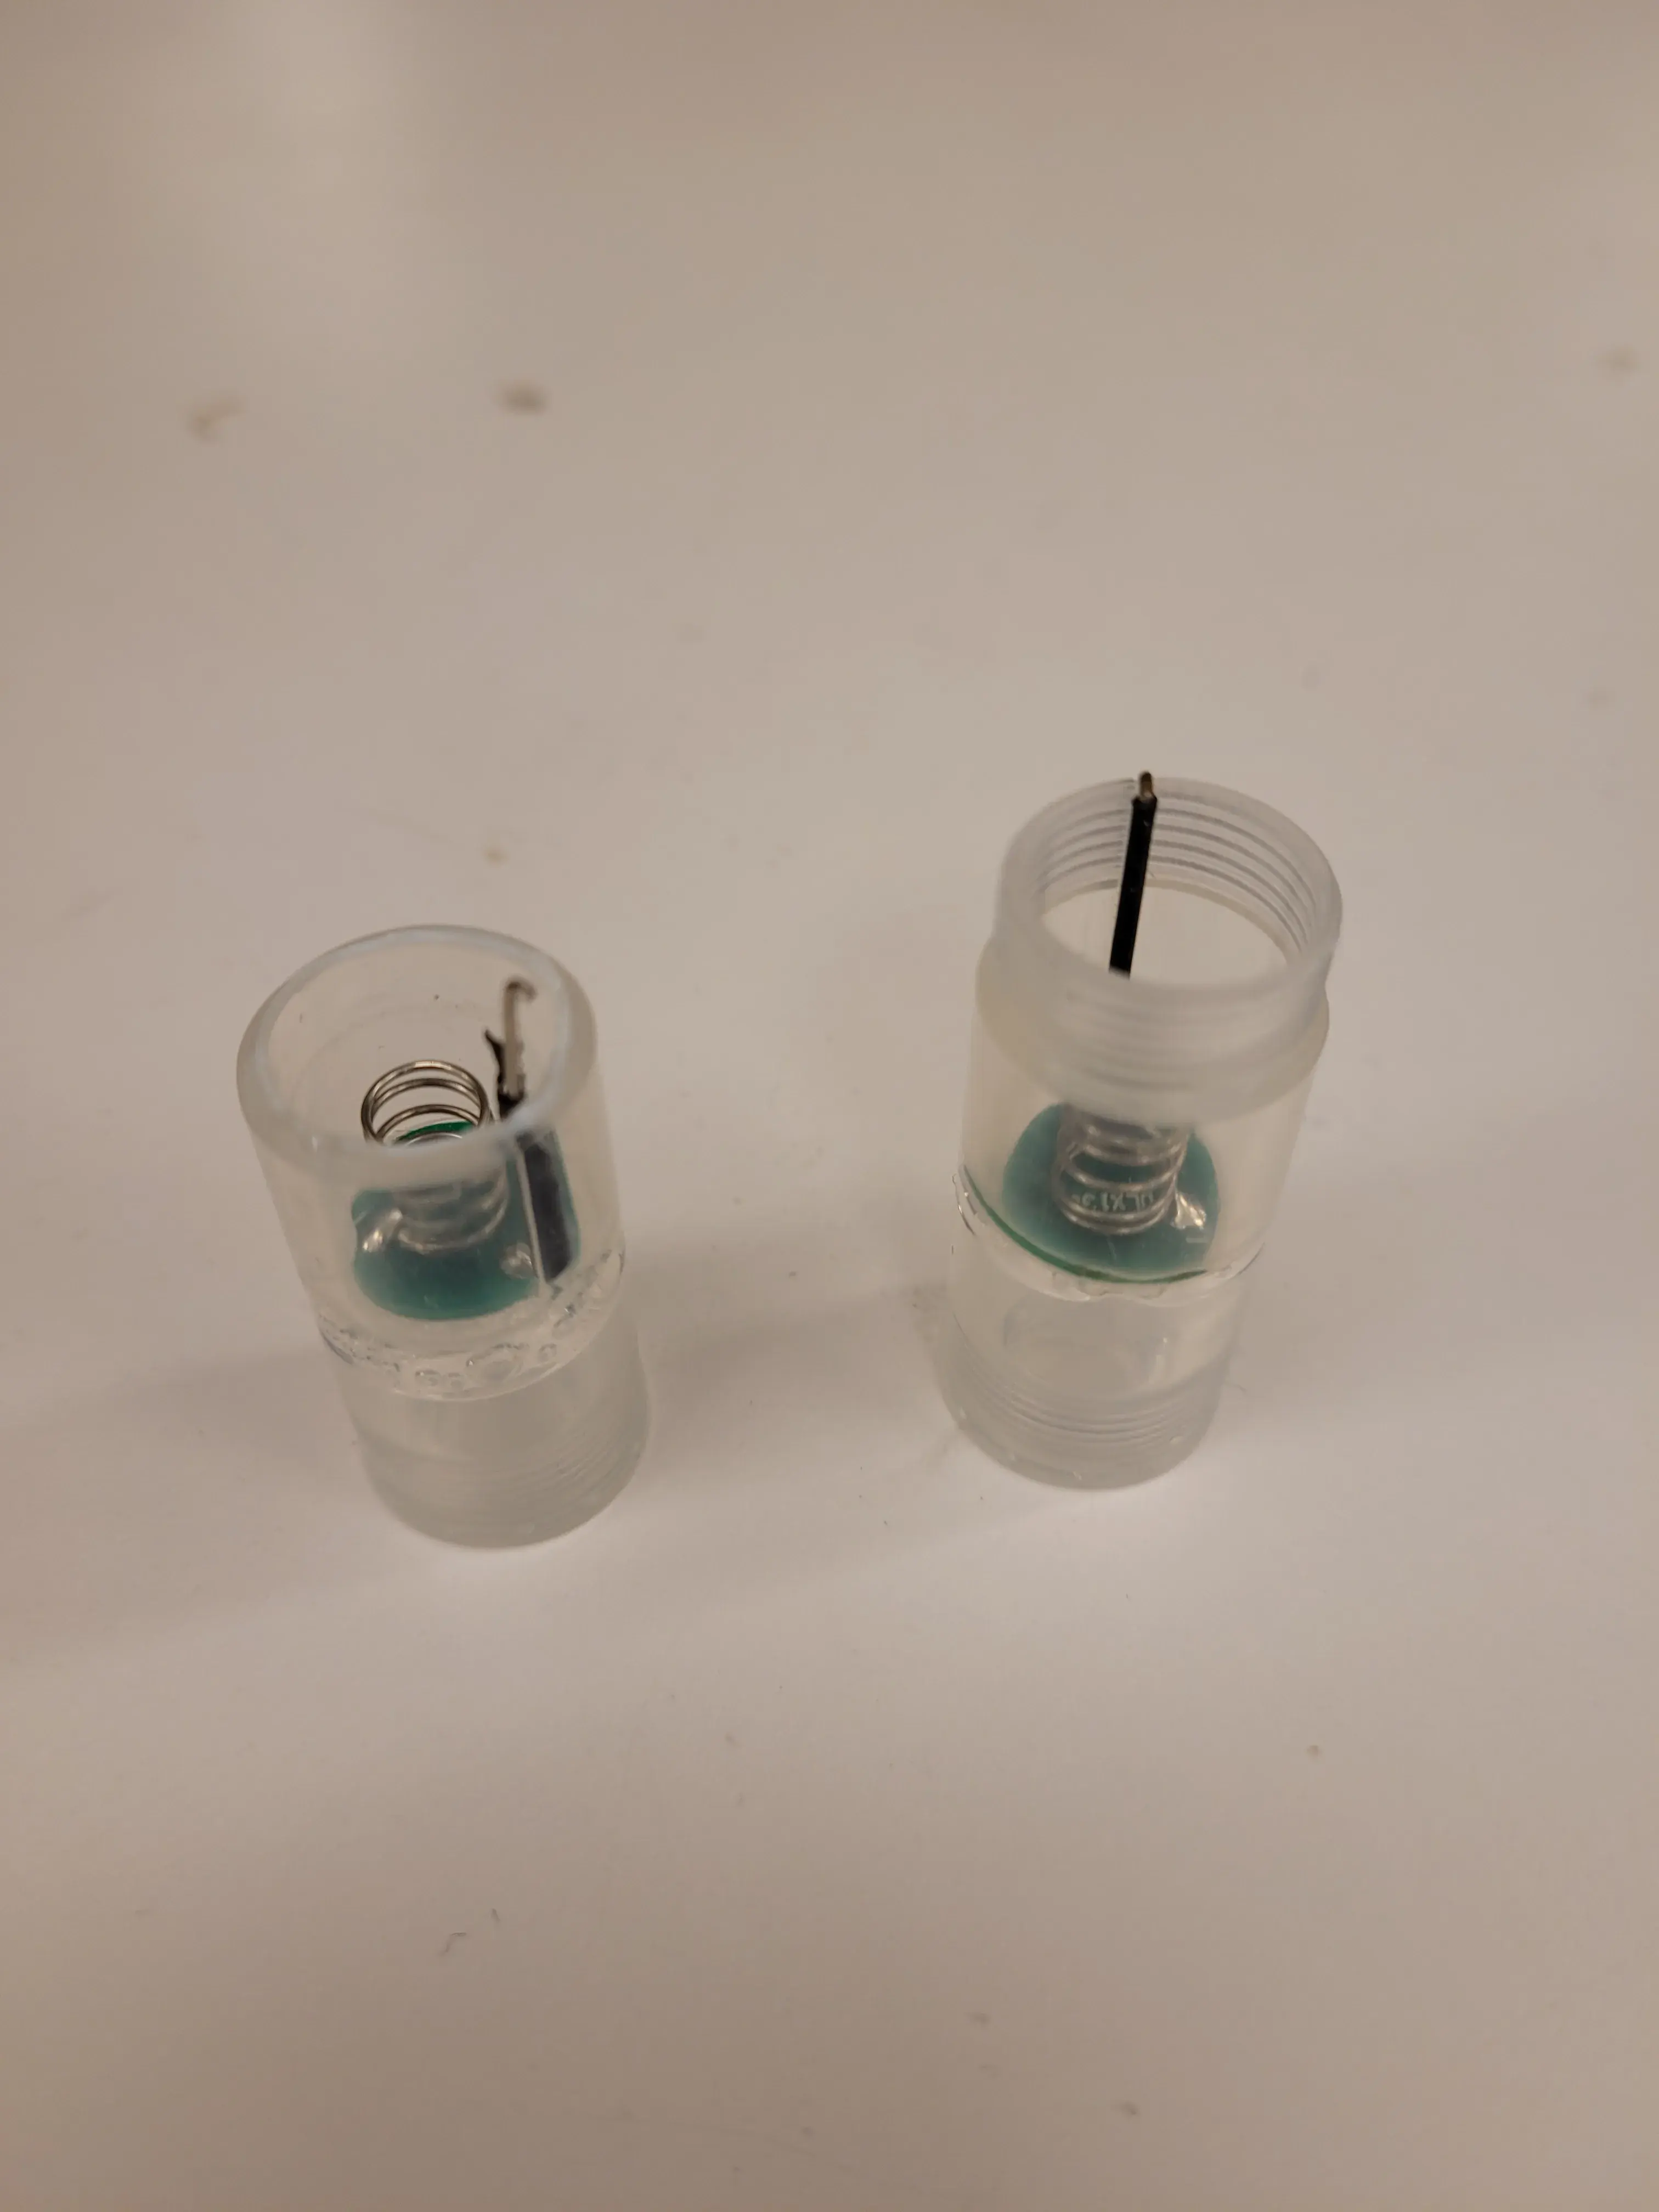
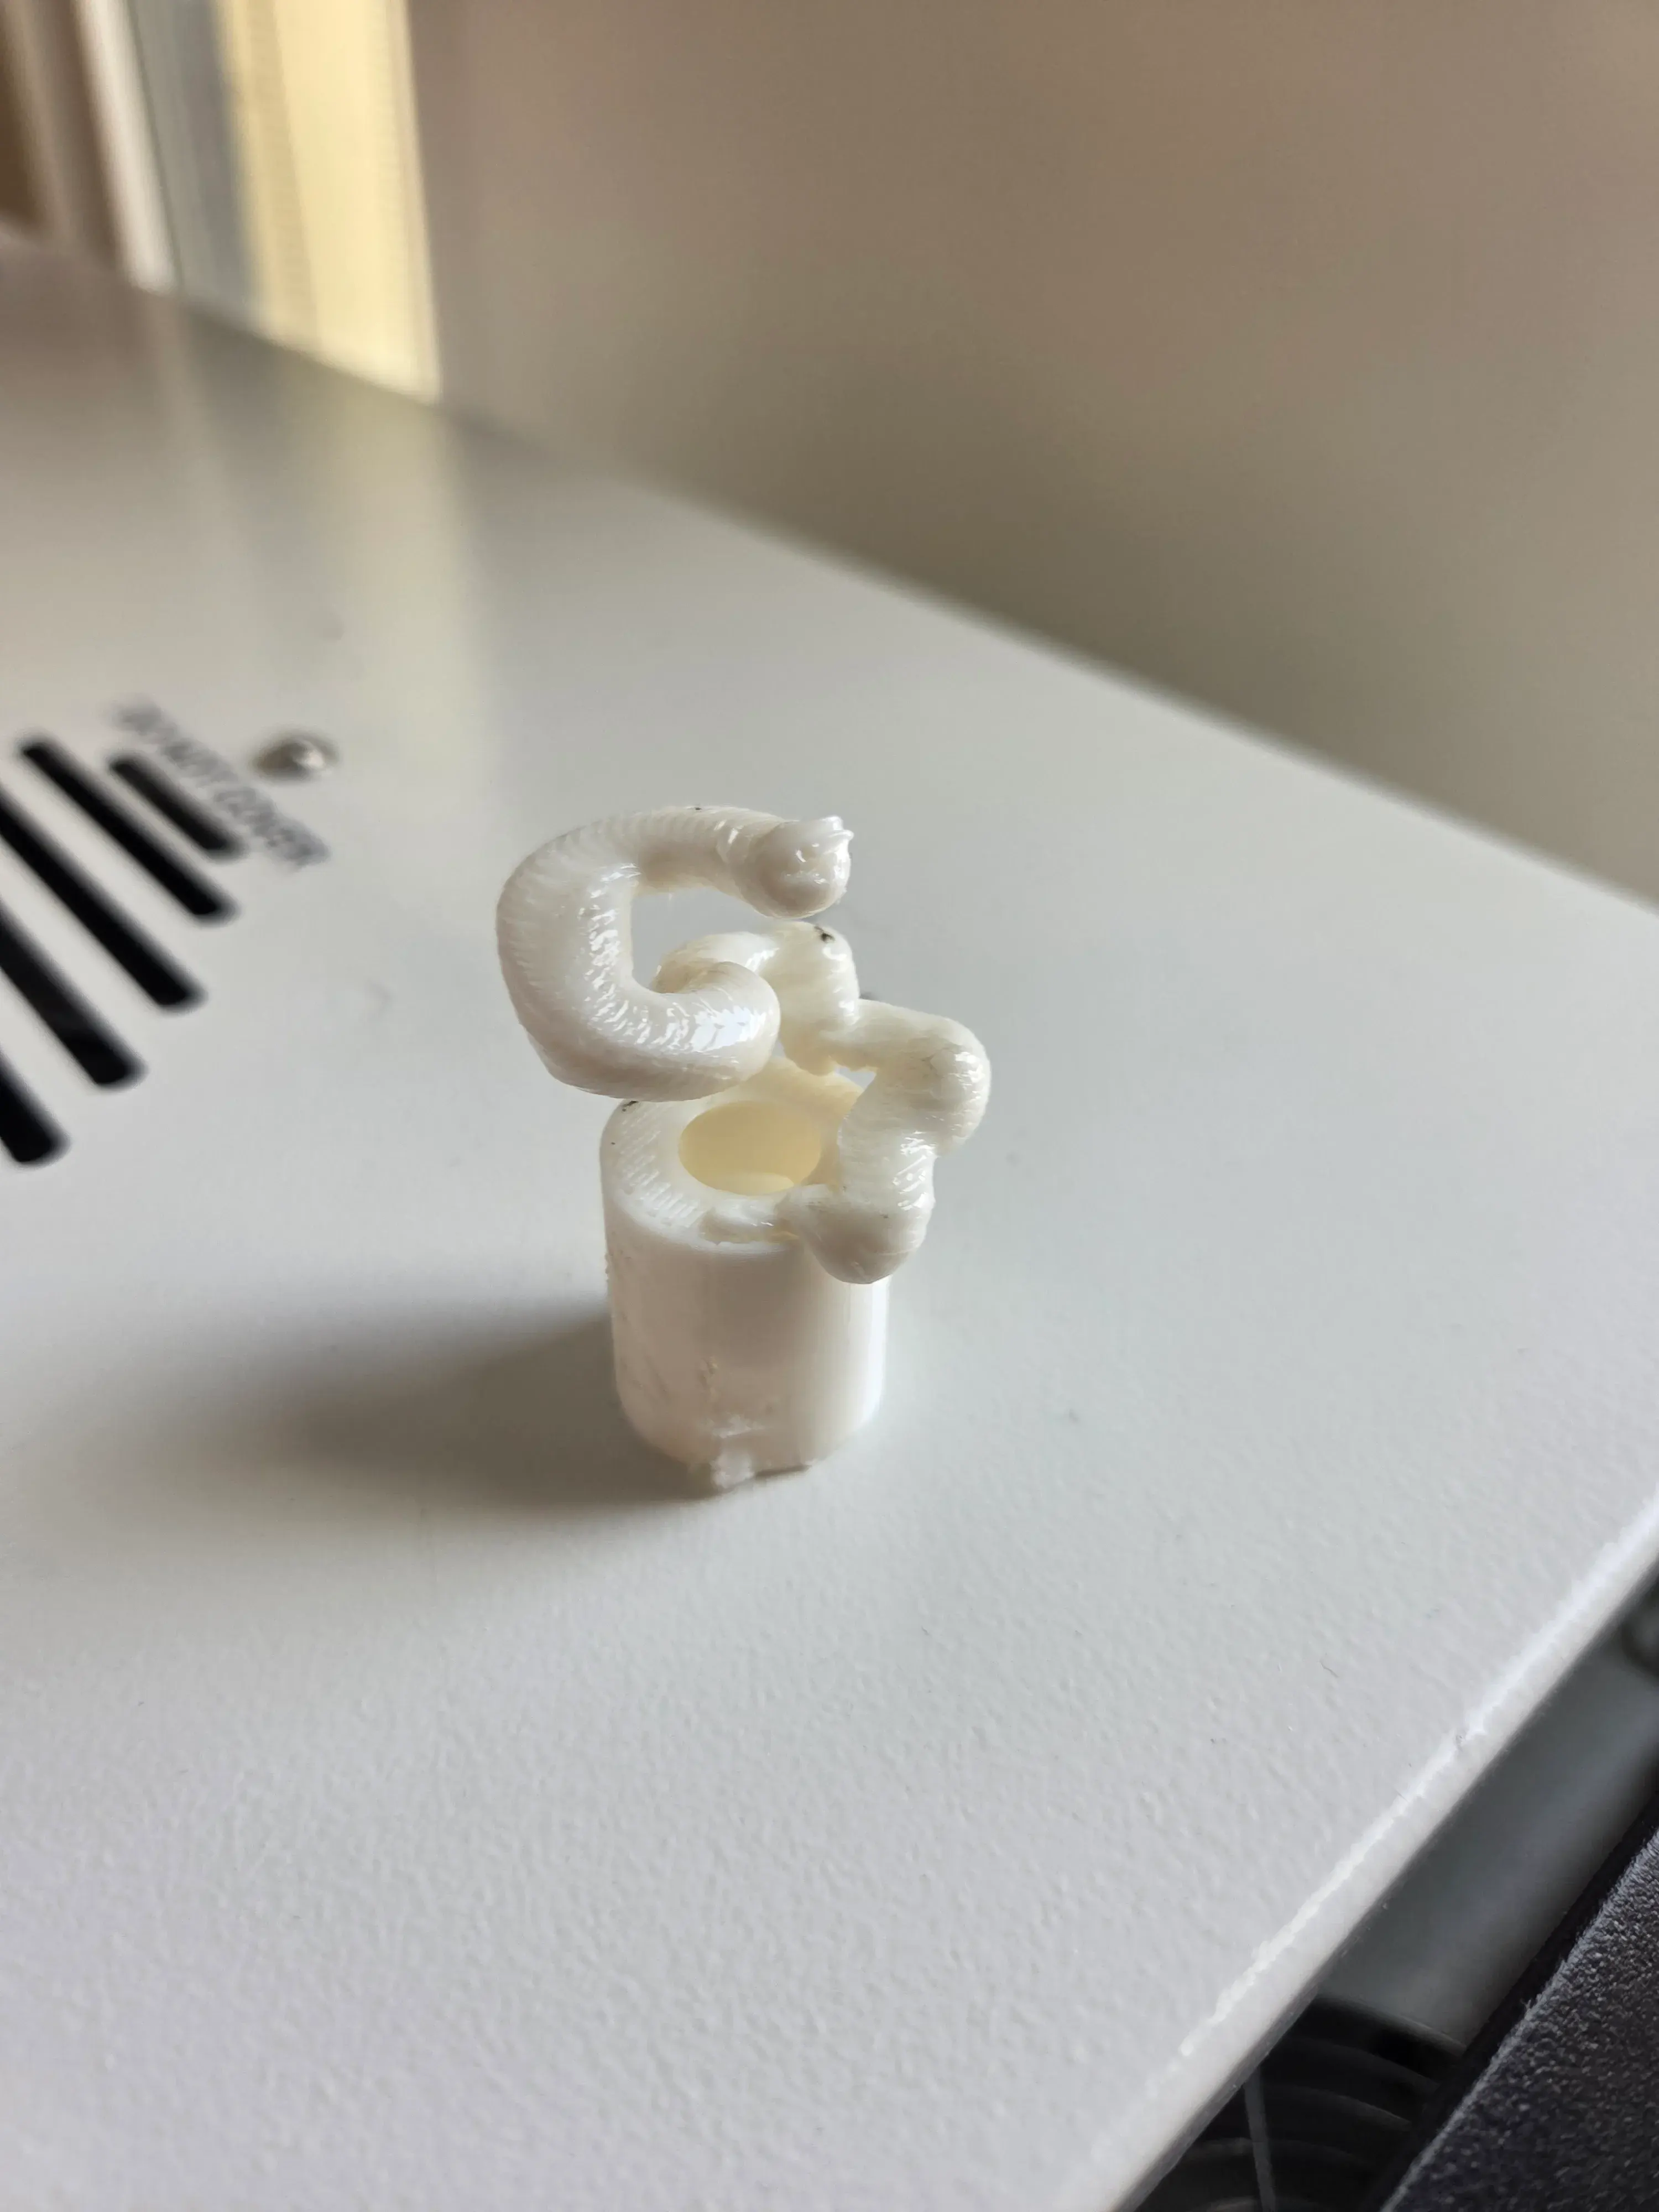
In an effort to reduce my own work as much as possible, I attempted to copy and reuse as many parts of Sundia’s LED attachment as much as possible. Unfortunately, the board with the LEDs on it was firmly epoxied in place, so I could only reuse the end cap.
By the end of all of my test prints, I had a prototype of something that could 1) emit light and 2) be attached to the end of an LED stick. All that remained was to convert it to clear TPU and iron out the inner dimensions of the attachment.

The end…?
I was able to print the attachments out of clear TPU using the all campus makerspace’s printers, and they worked like a charm.
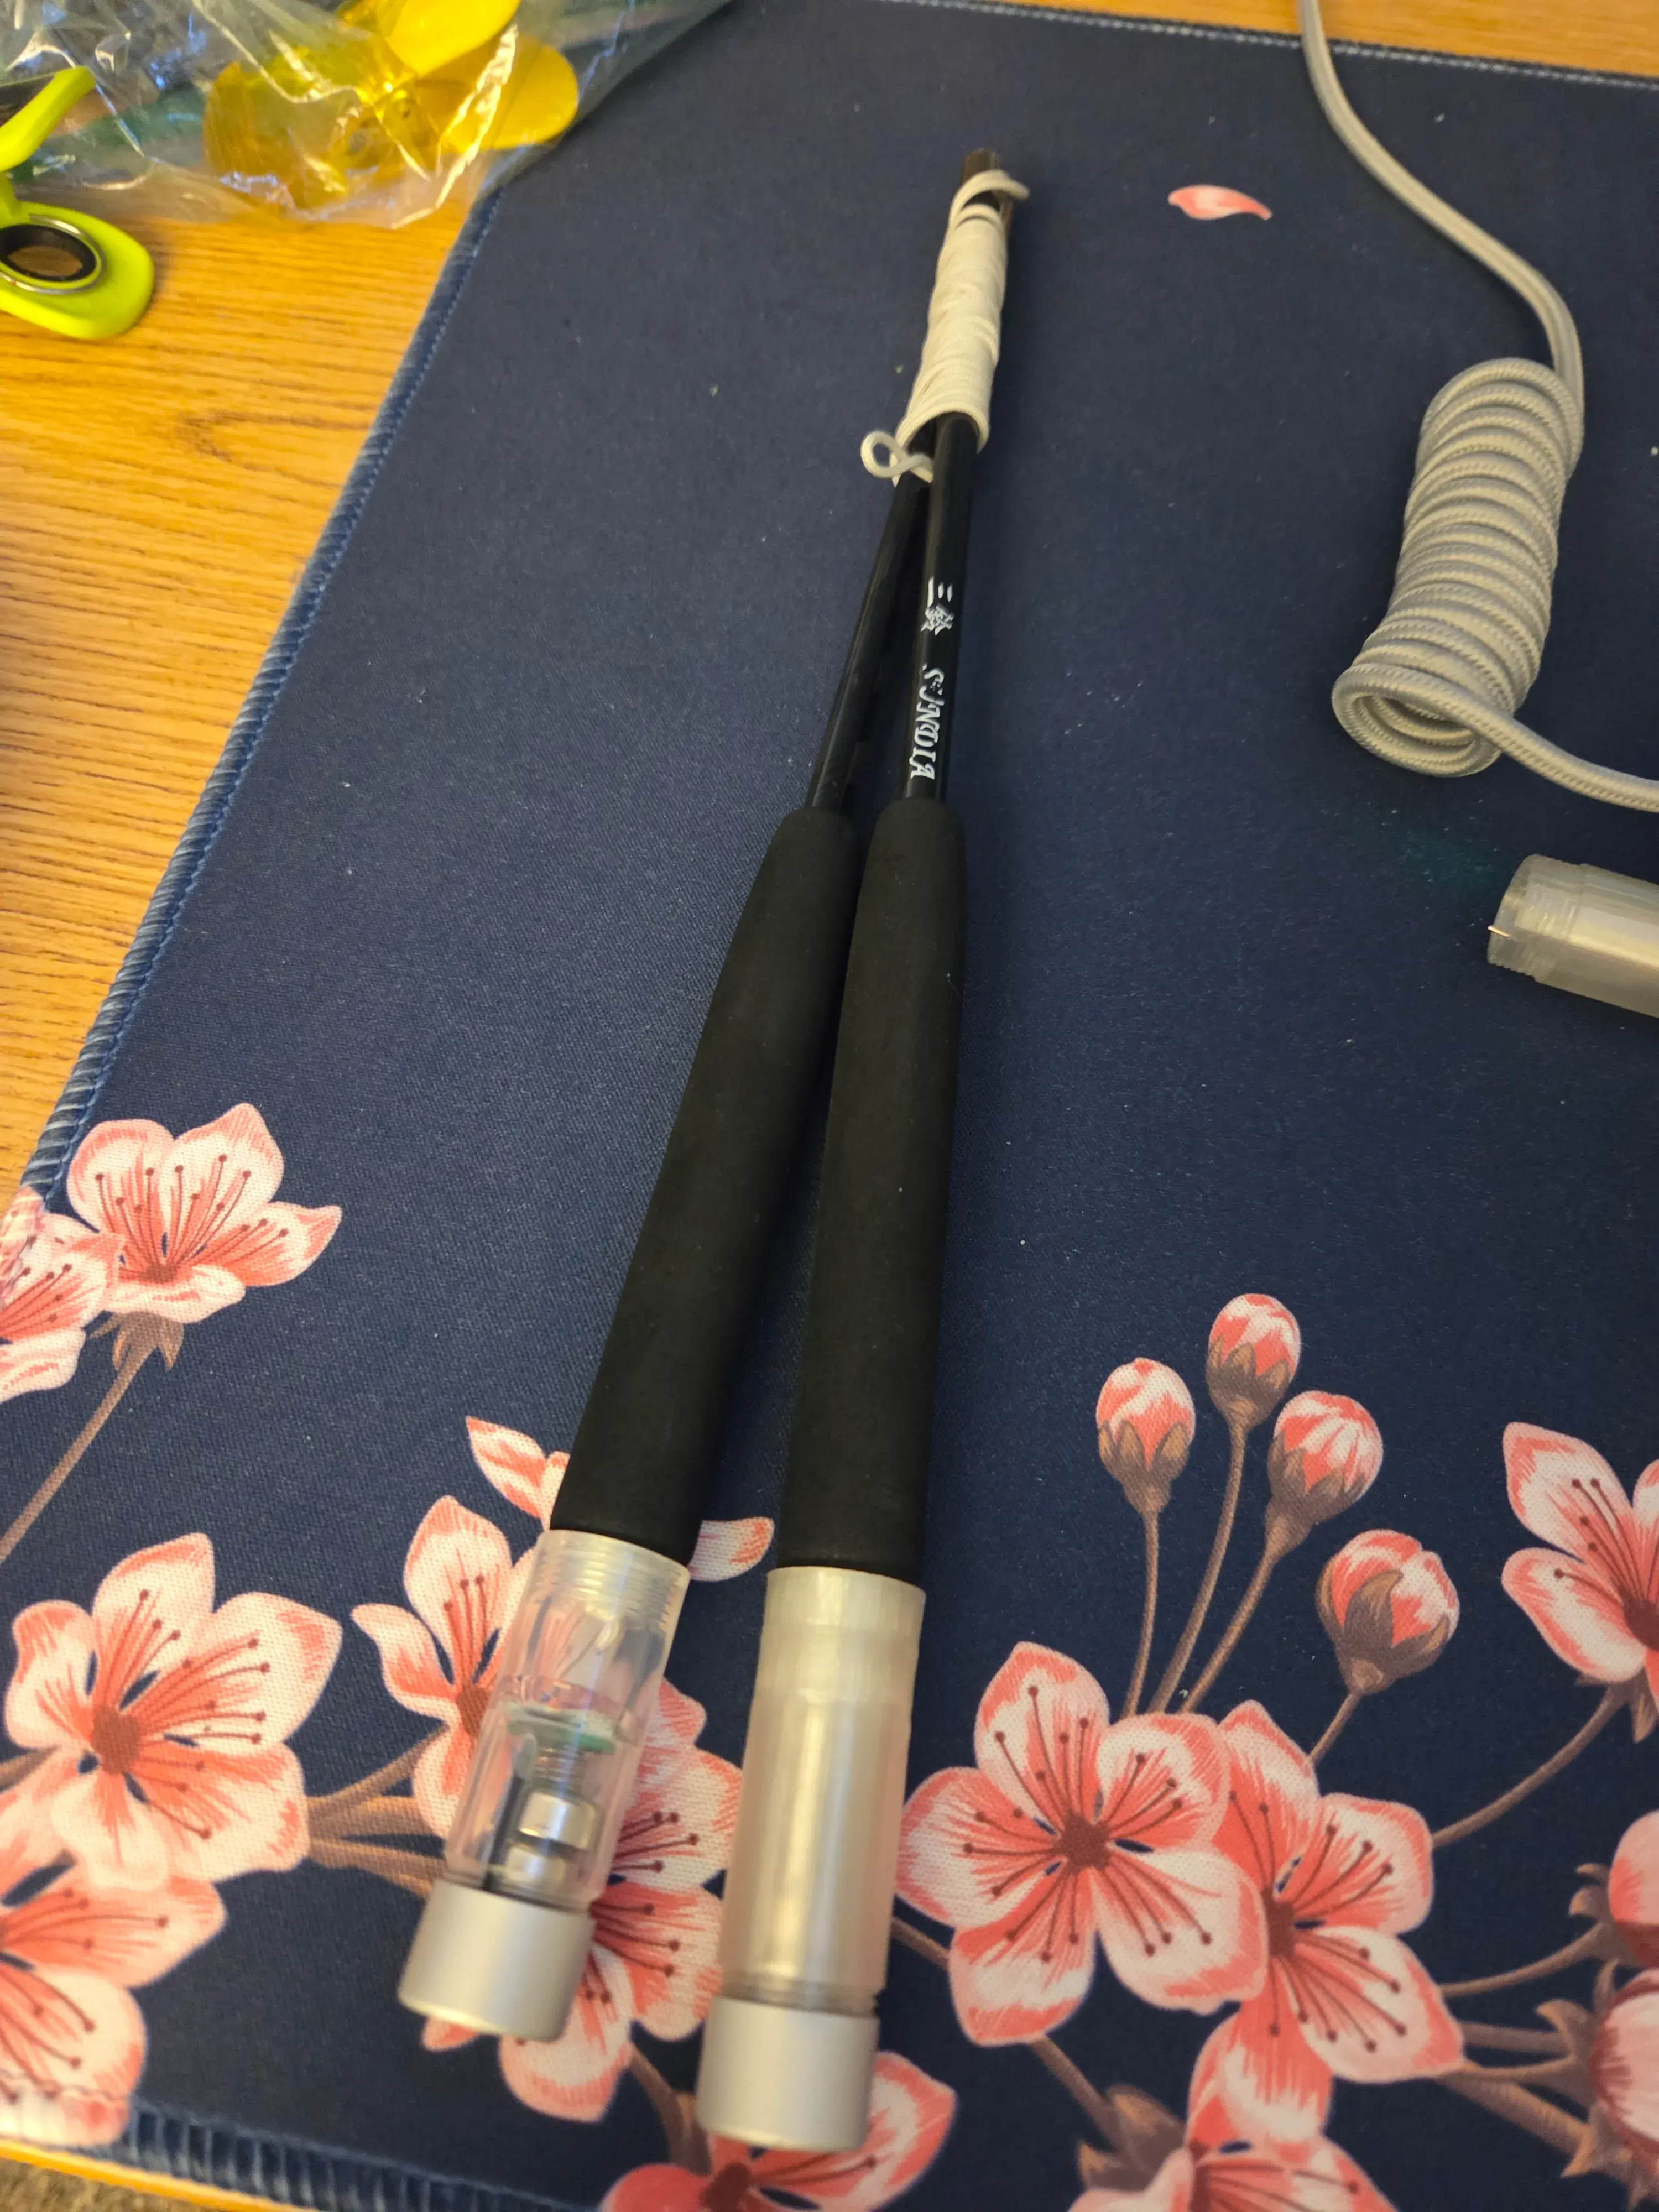
While my own LED attachment was better in some ways, it was worse than Sundia’s in others:
- While it never broke, it also flew off the LED stick if you hit it too hard (or swung it too fast)
- This could be solved with a heat insert (with a hole for the string to go through), but then I’d have the problem of the end cap flying off (see fully custom sticks)
- The wire contact with the end cap wasn’t very reliable, especially if you hit the attachment frequently
Both of these issues posed too much of an issue to be usable for vertax and integrals (where making a mistake leads to a dangerous projectile). Additionally, while it is similar in brightness to Sundia’s LED sticks, it was a lot dimmer than their LED yoyo attachments.
With no easy path forward, the first chapter on the LED stick saga concluded, and I moved on to greater endeavors.
Onwards to fully custom LED sticks
Not satisfied with the TPU attachments, I thought to myself:
If the attachment point between the LED attachment and the stick was the point of failure, what if we just made the whole stick ourselves and put LEDs along the whole thing?
And so I got back to work, designing a whole stick from scratch, attempting to design a better mounting mechanism:
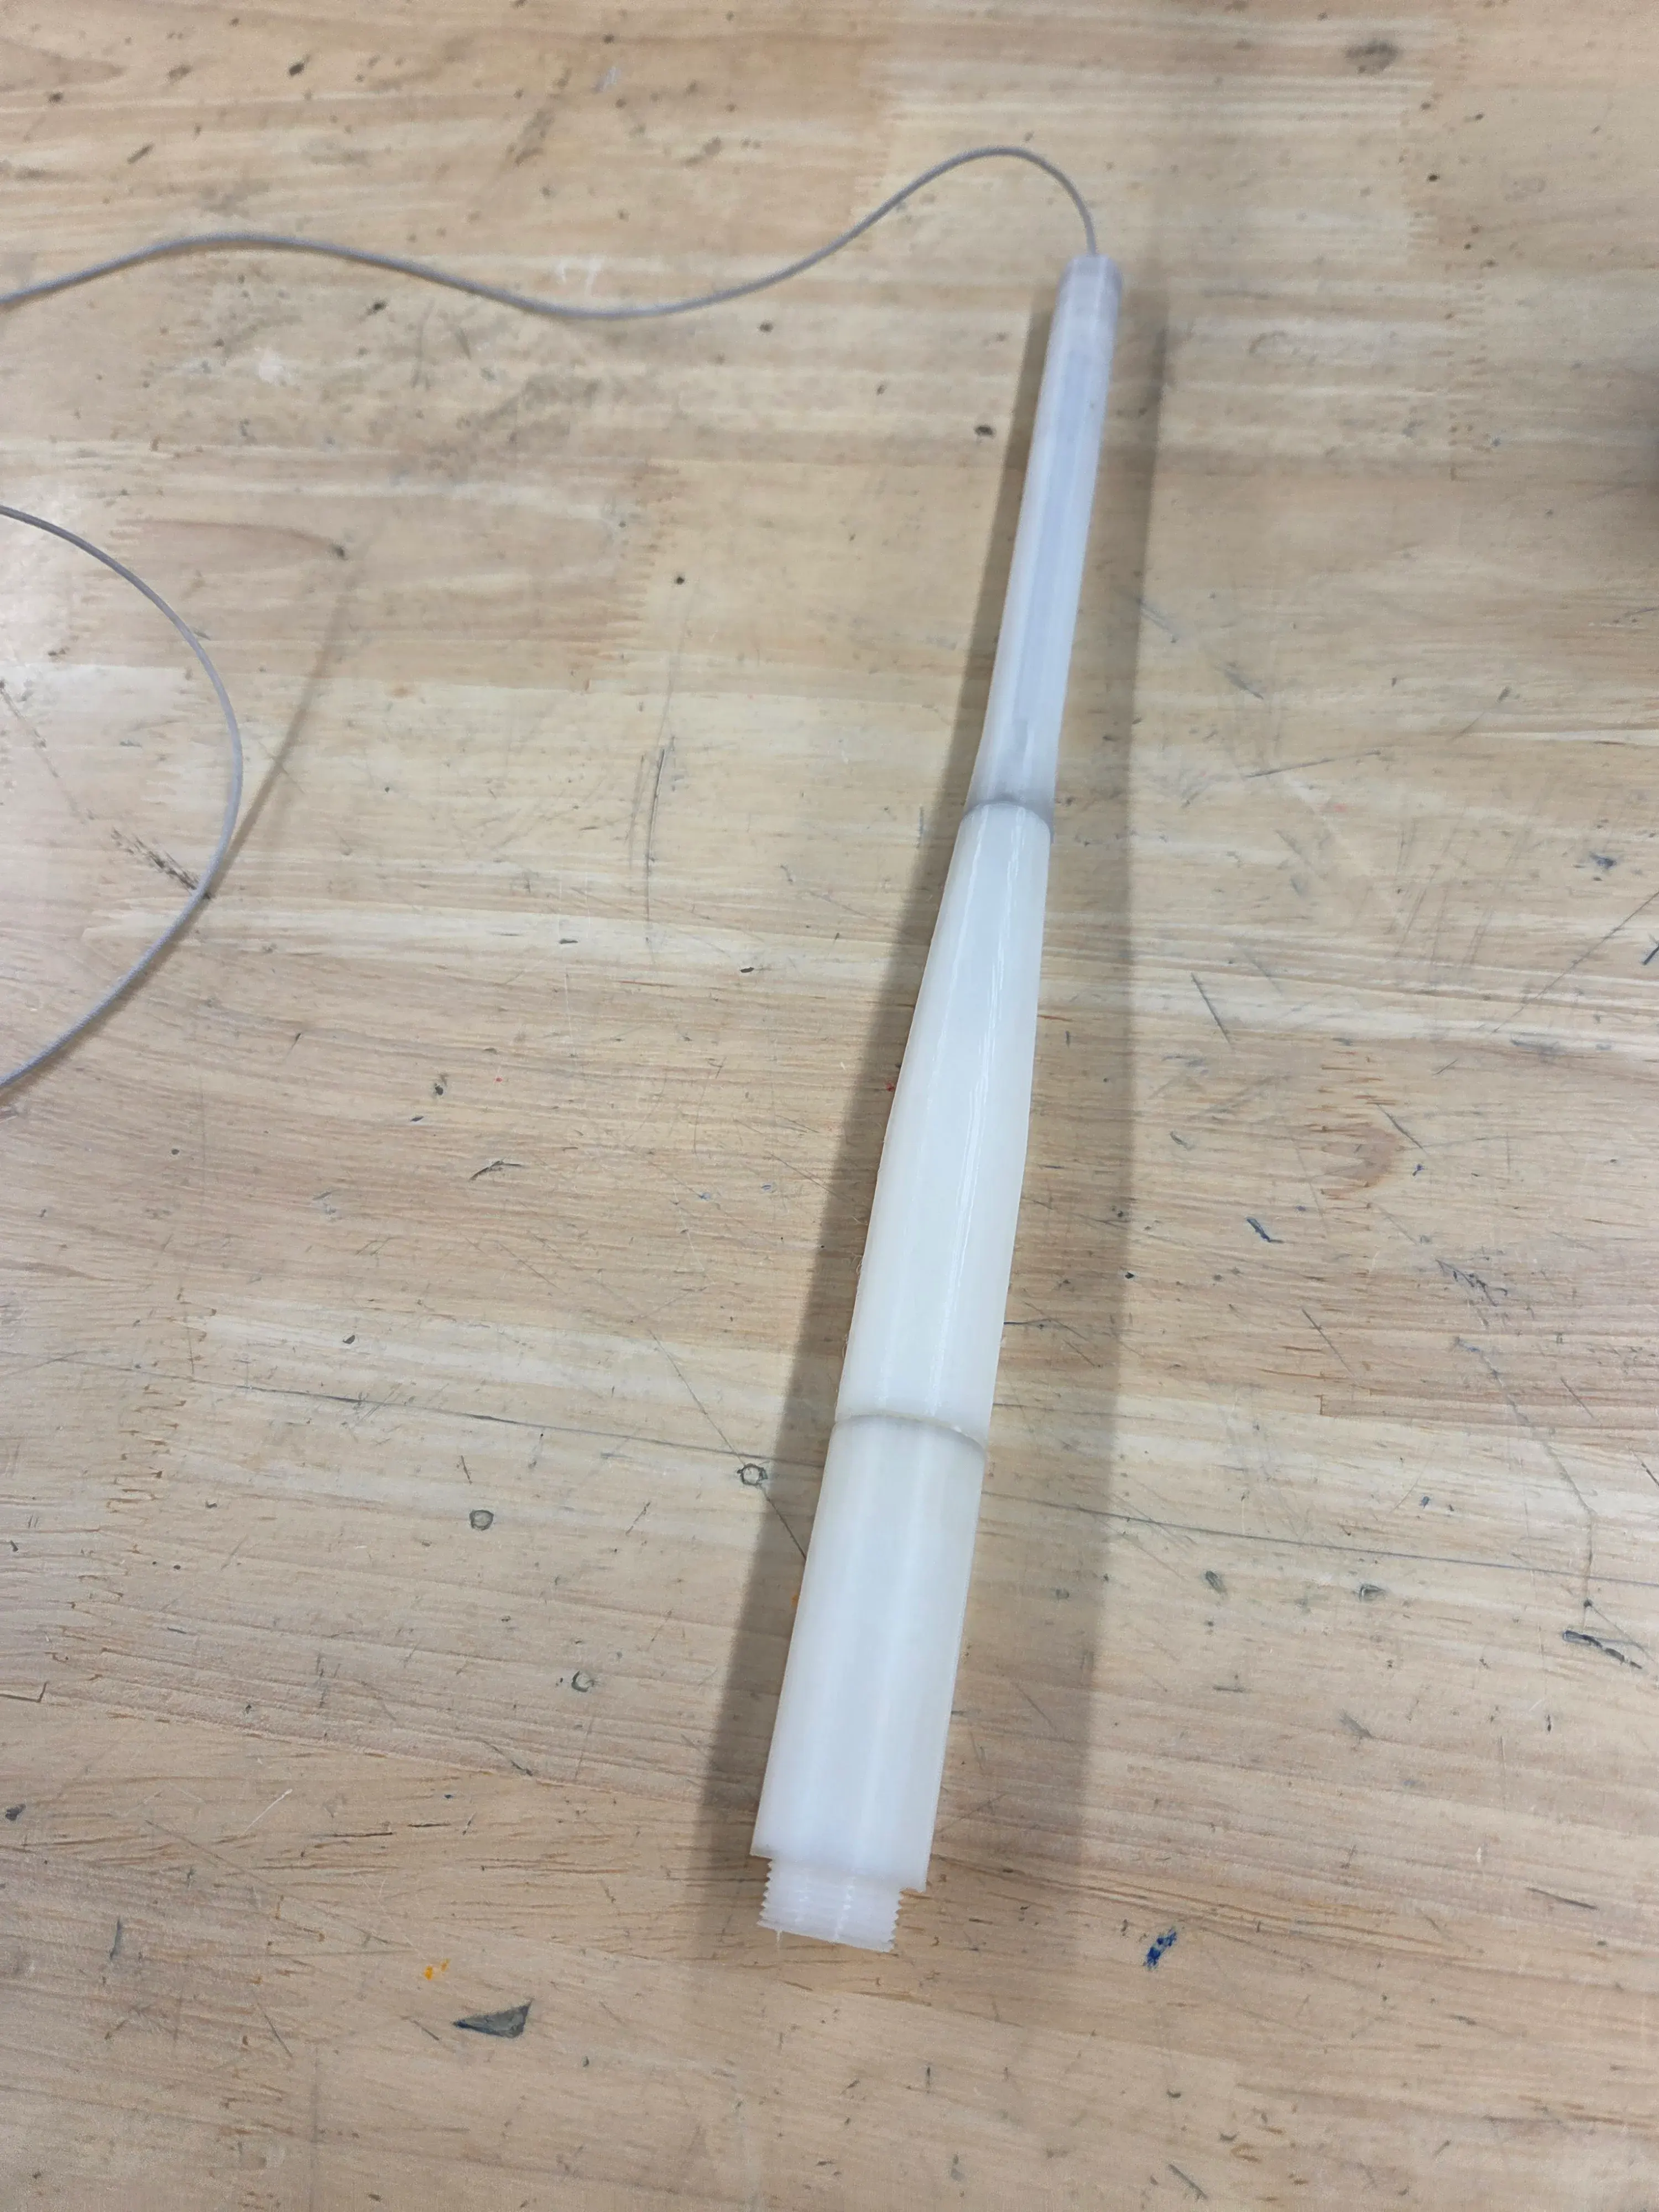
To help maintain rigidity of the stick, I first tried PLA, but that broke quickly (more specifically, after 1 hit against the ground), so I switched to TPU with metal rods inside.

Right hand: TPU stick with metal rods
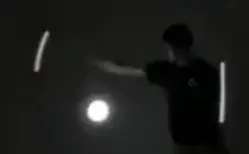
These sticks technically functioned, but they were horrible to use for integrals since they were 55 grams each (leading to everything being painfully slow). For reference, plastic sticks are typically 37 grams each, and carbon sticks are around 30-33 grams each.
Also, now that the point of failure between the attachment and stick was fixed, we discovered a new point of failure: the end cap and the LED attachment exploding (no photo evidence, but the batteries flew over 30 feet away from where we were yoyoing).
In lieu of becoming another public safety hazard and wanting to avoid having to figure out how to cut over 20 grams off of a 3d print, I had to scrap these sticks and come up with a more novel approach.
The redemption of fully custom sticks
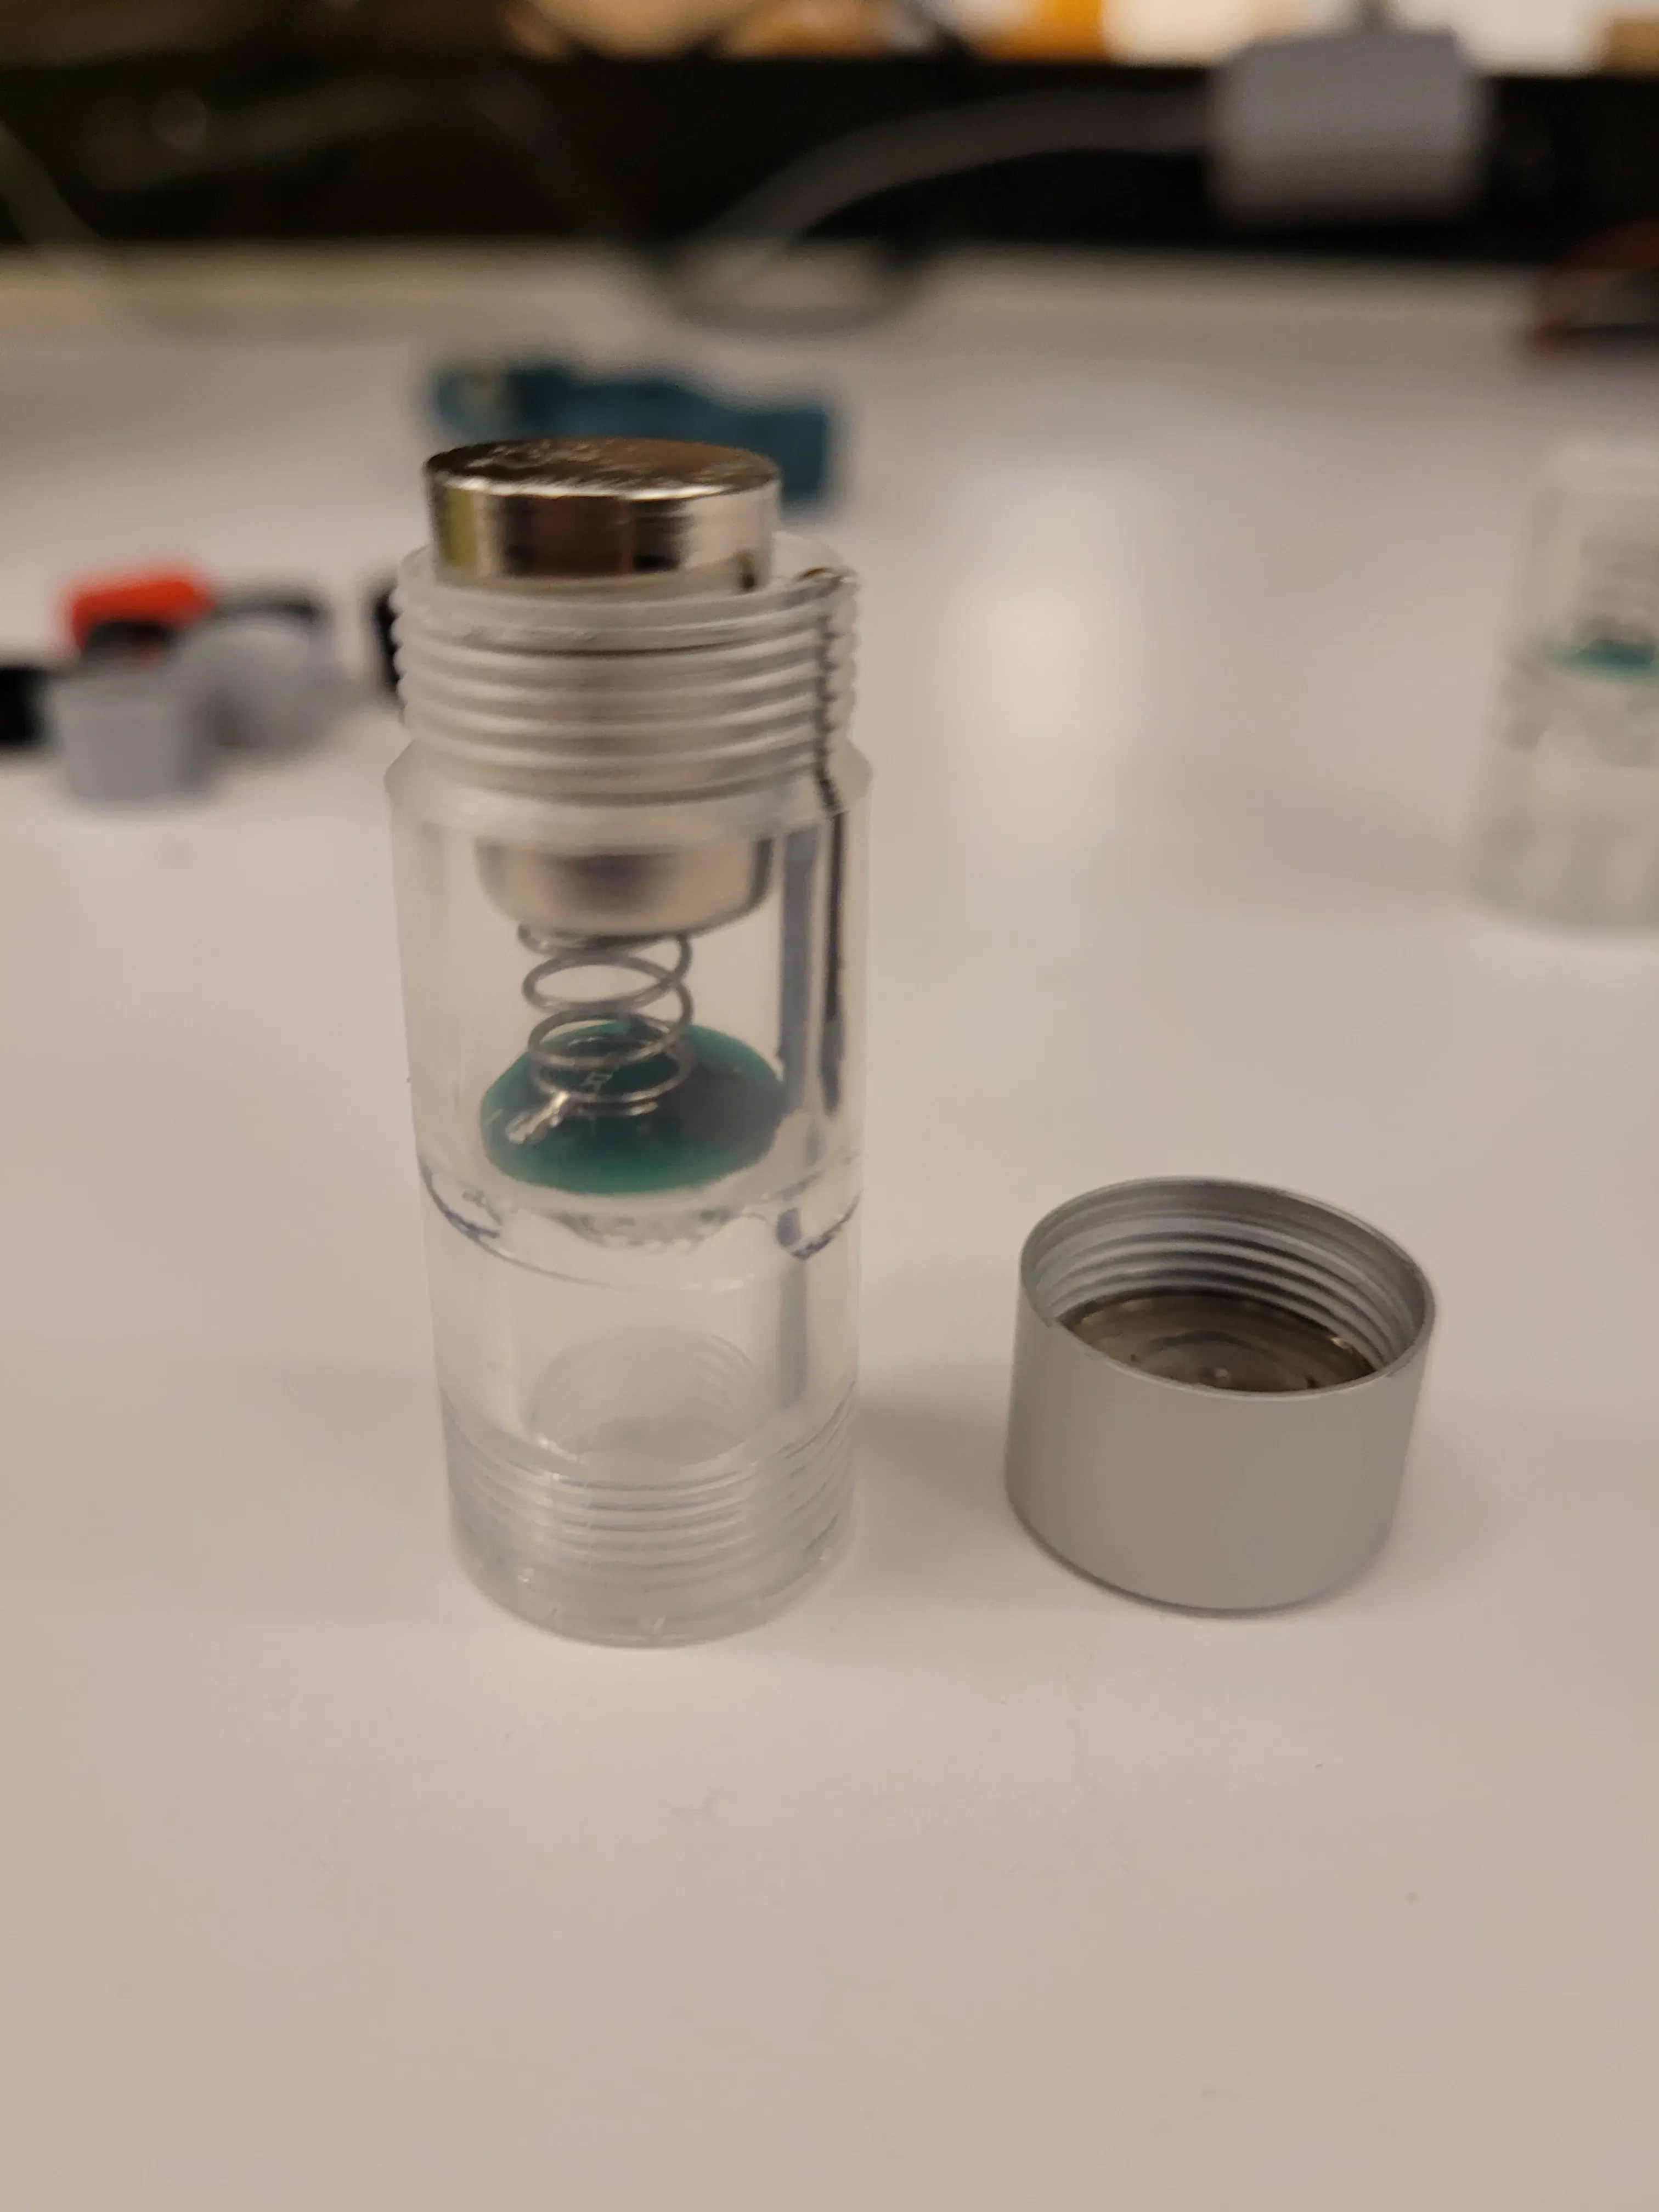
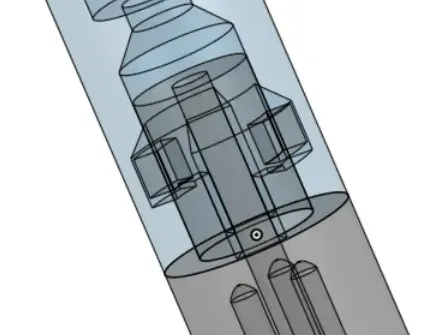
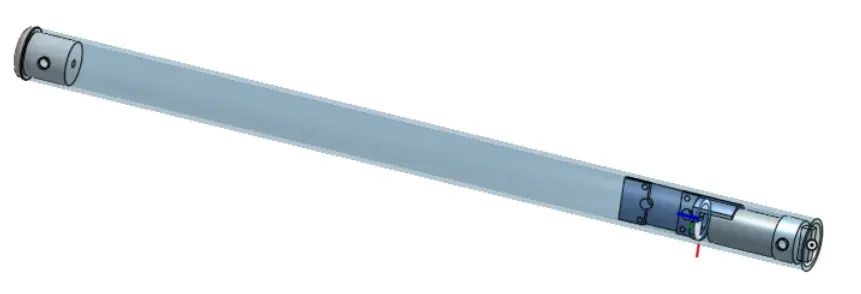
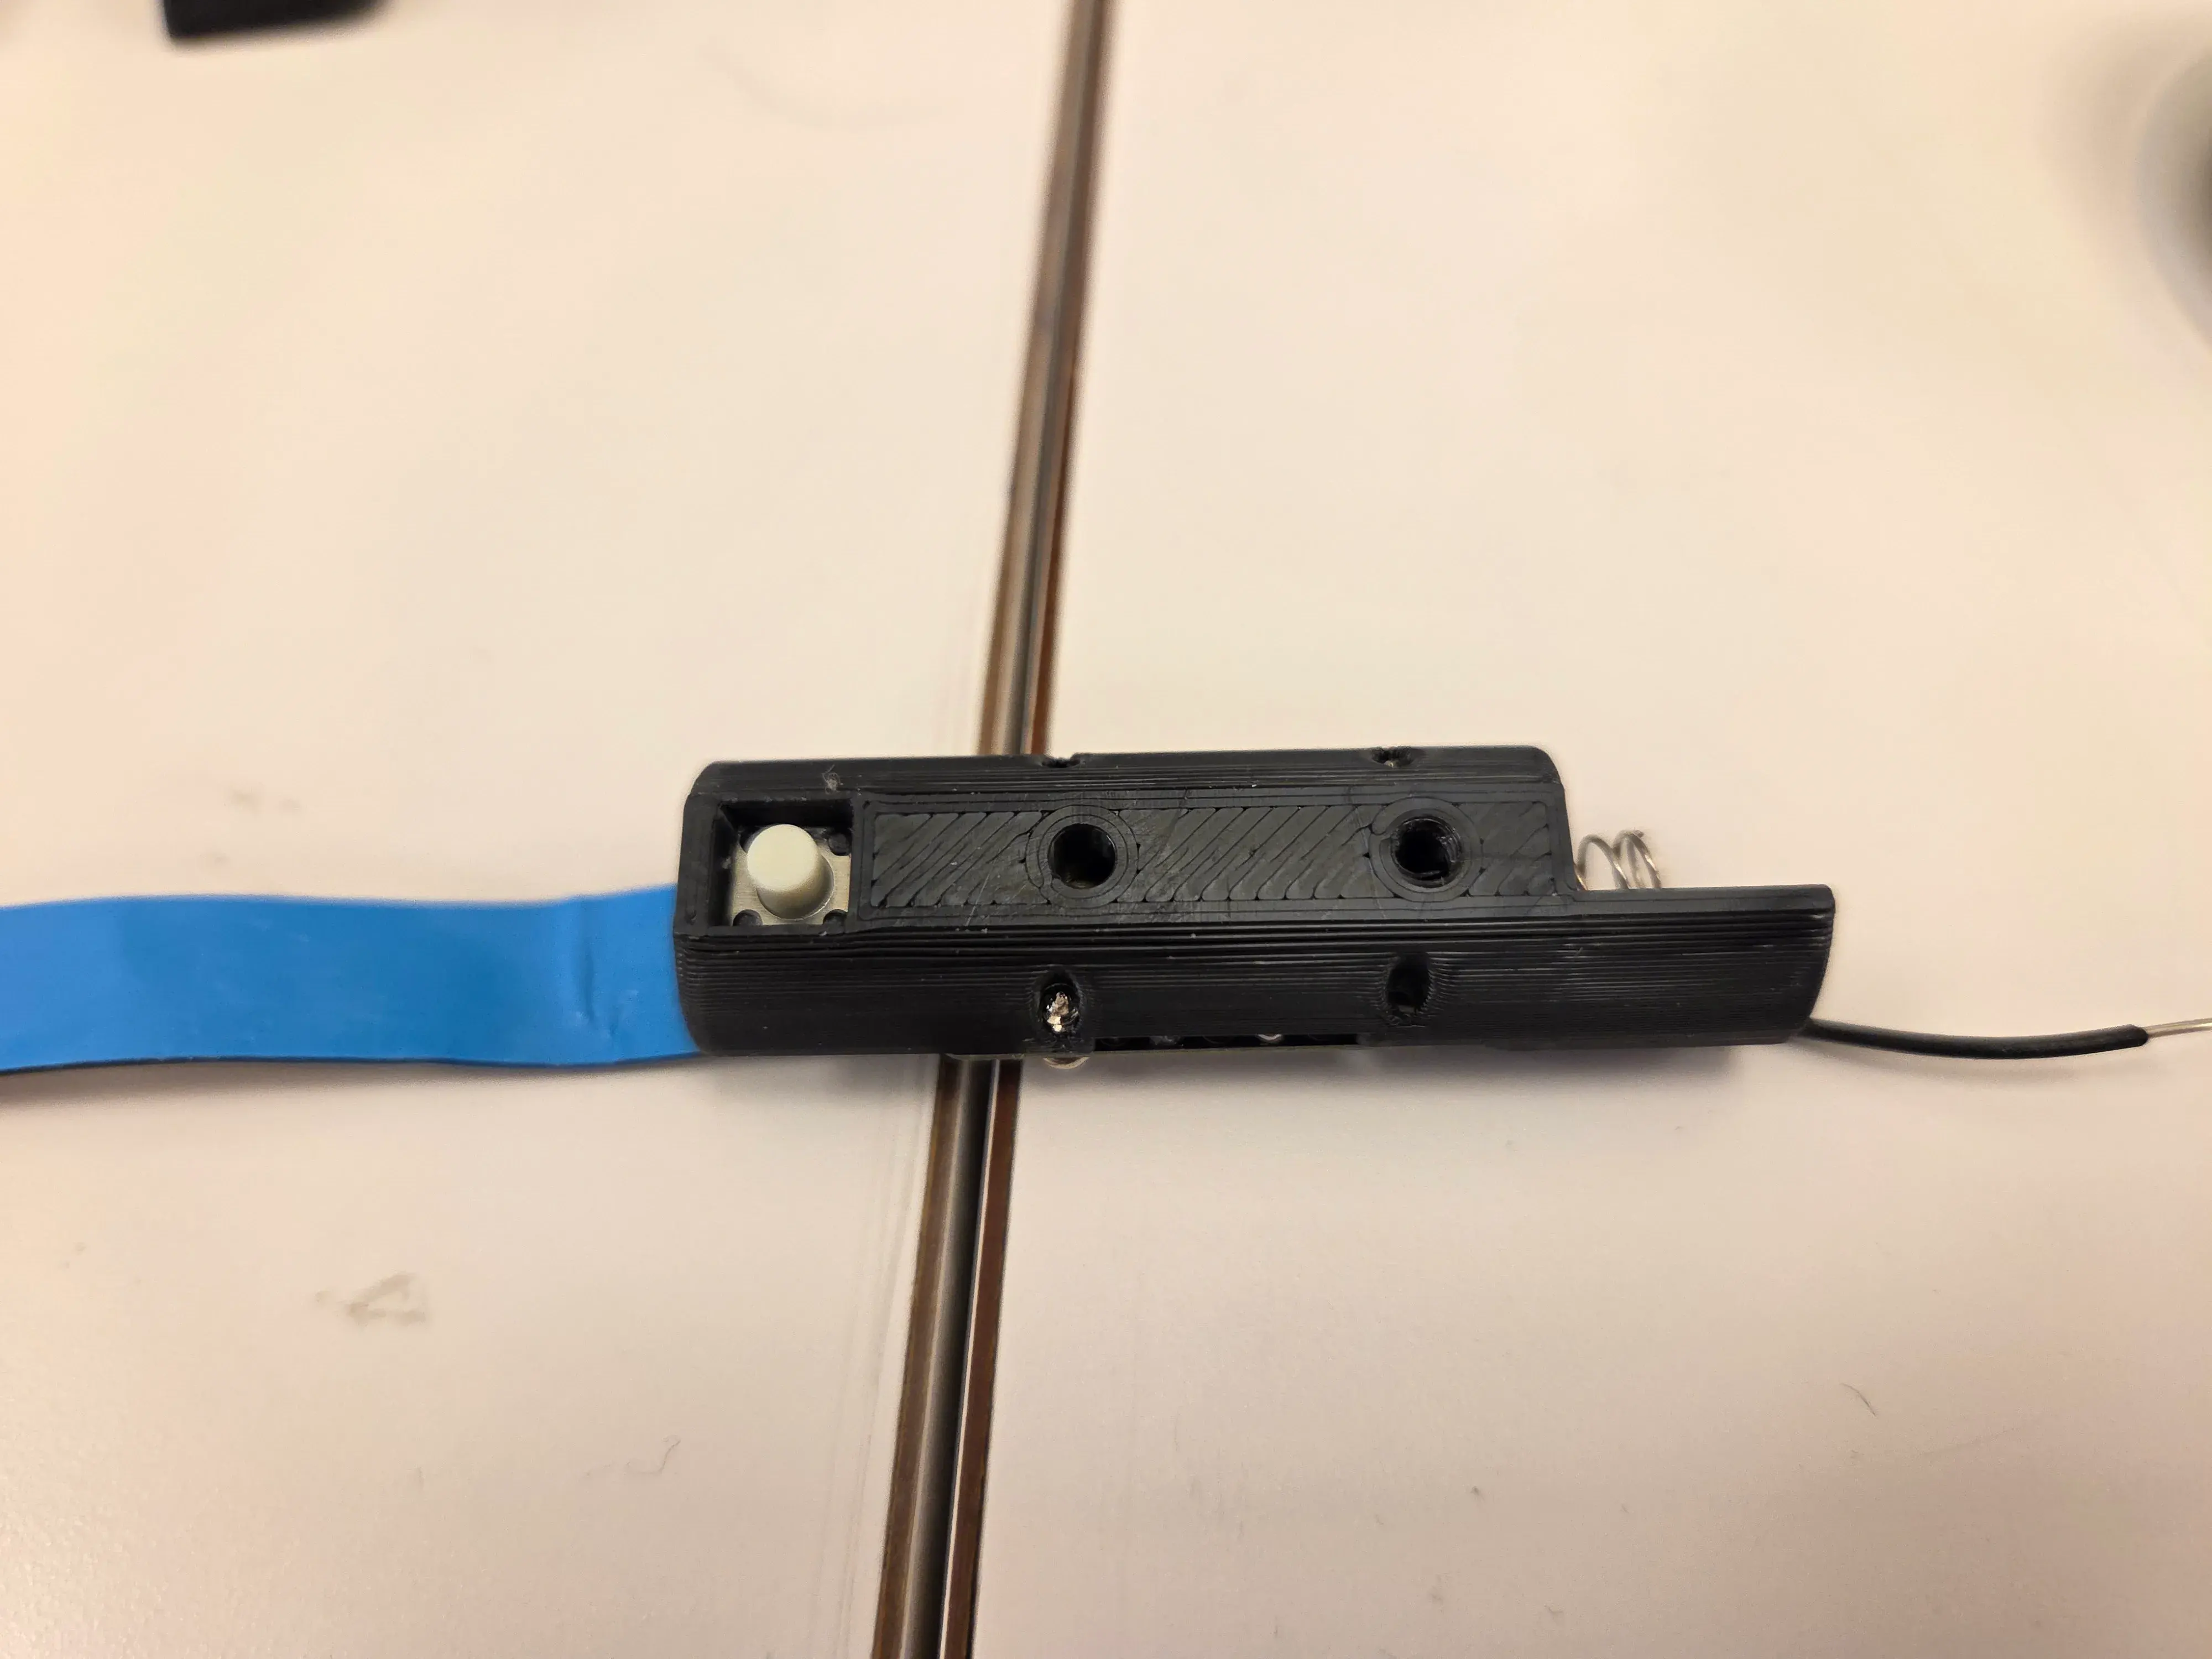
It was apparent that 3d printing is not the way, at least for making the whole stick. However, Chris Pho showed me a diabolo group (diabololution) that made LED sticks by using clear tubing, which immediately gave me the idea to put a microcontroller and battery in a polycarbonate tube. Finding small and light parts was a challenge, but I eventually settled on Adafruit’s Trinket M0 (15.3mm wide), 14250 batteries (14mm wide), and 16mm IDx18mm OD polycarbonate tubing.
Throughout a few days, I came up with a simple design.
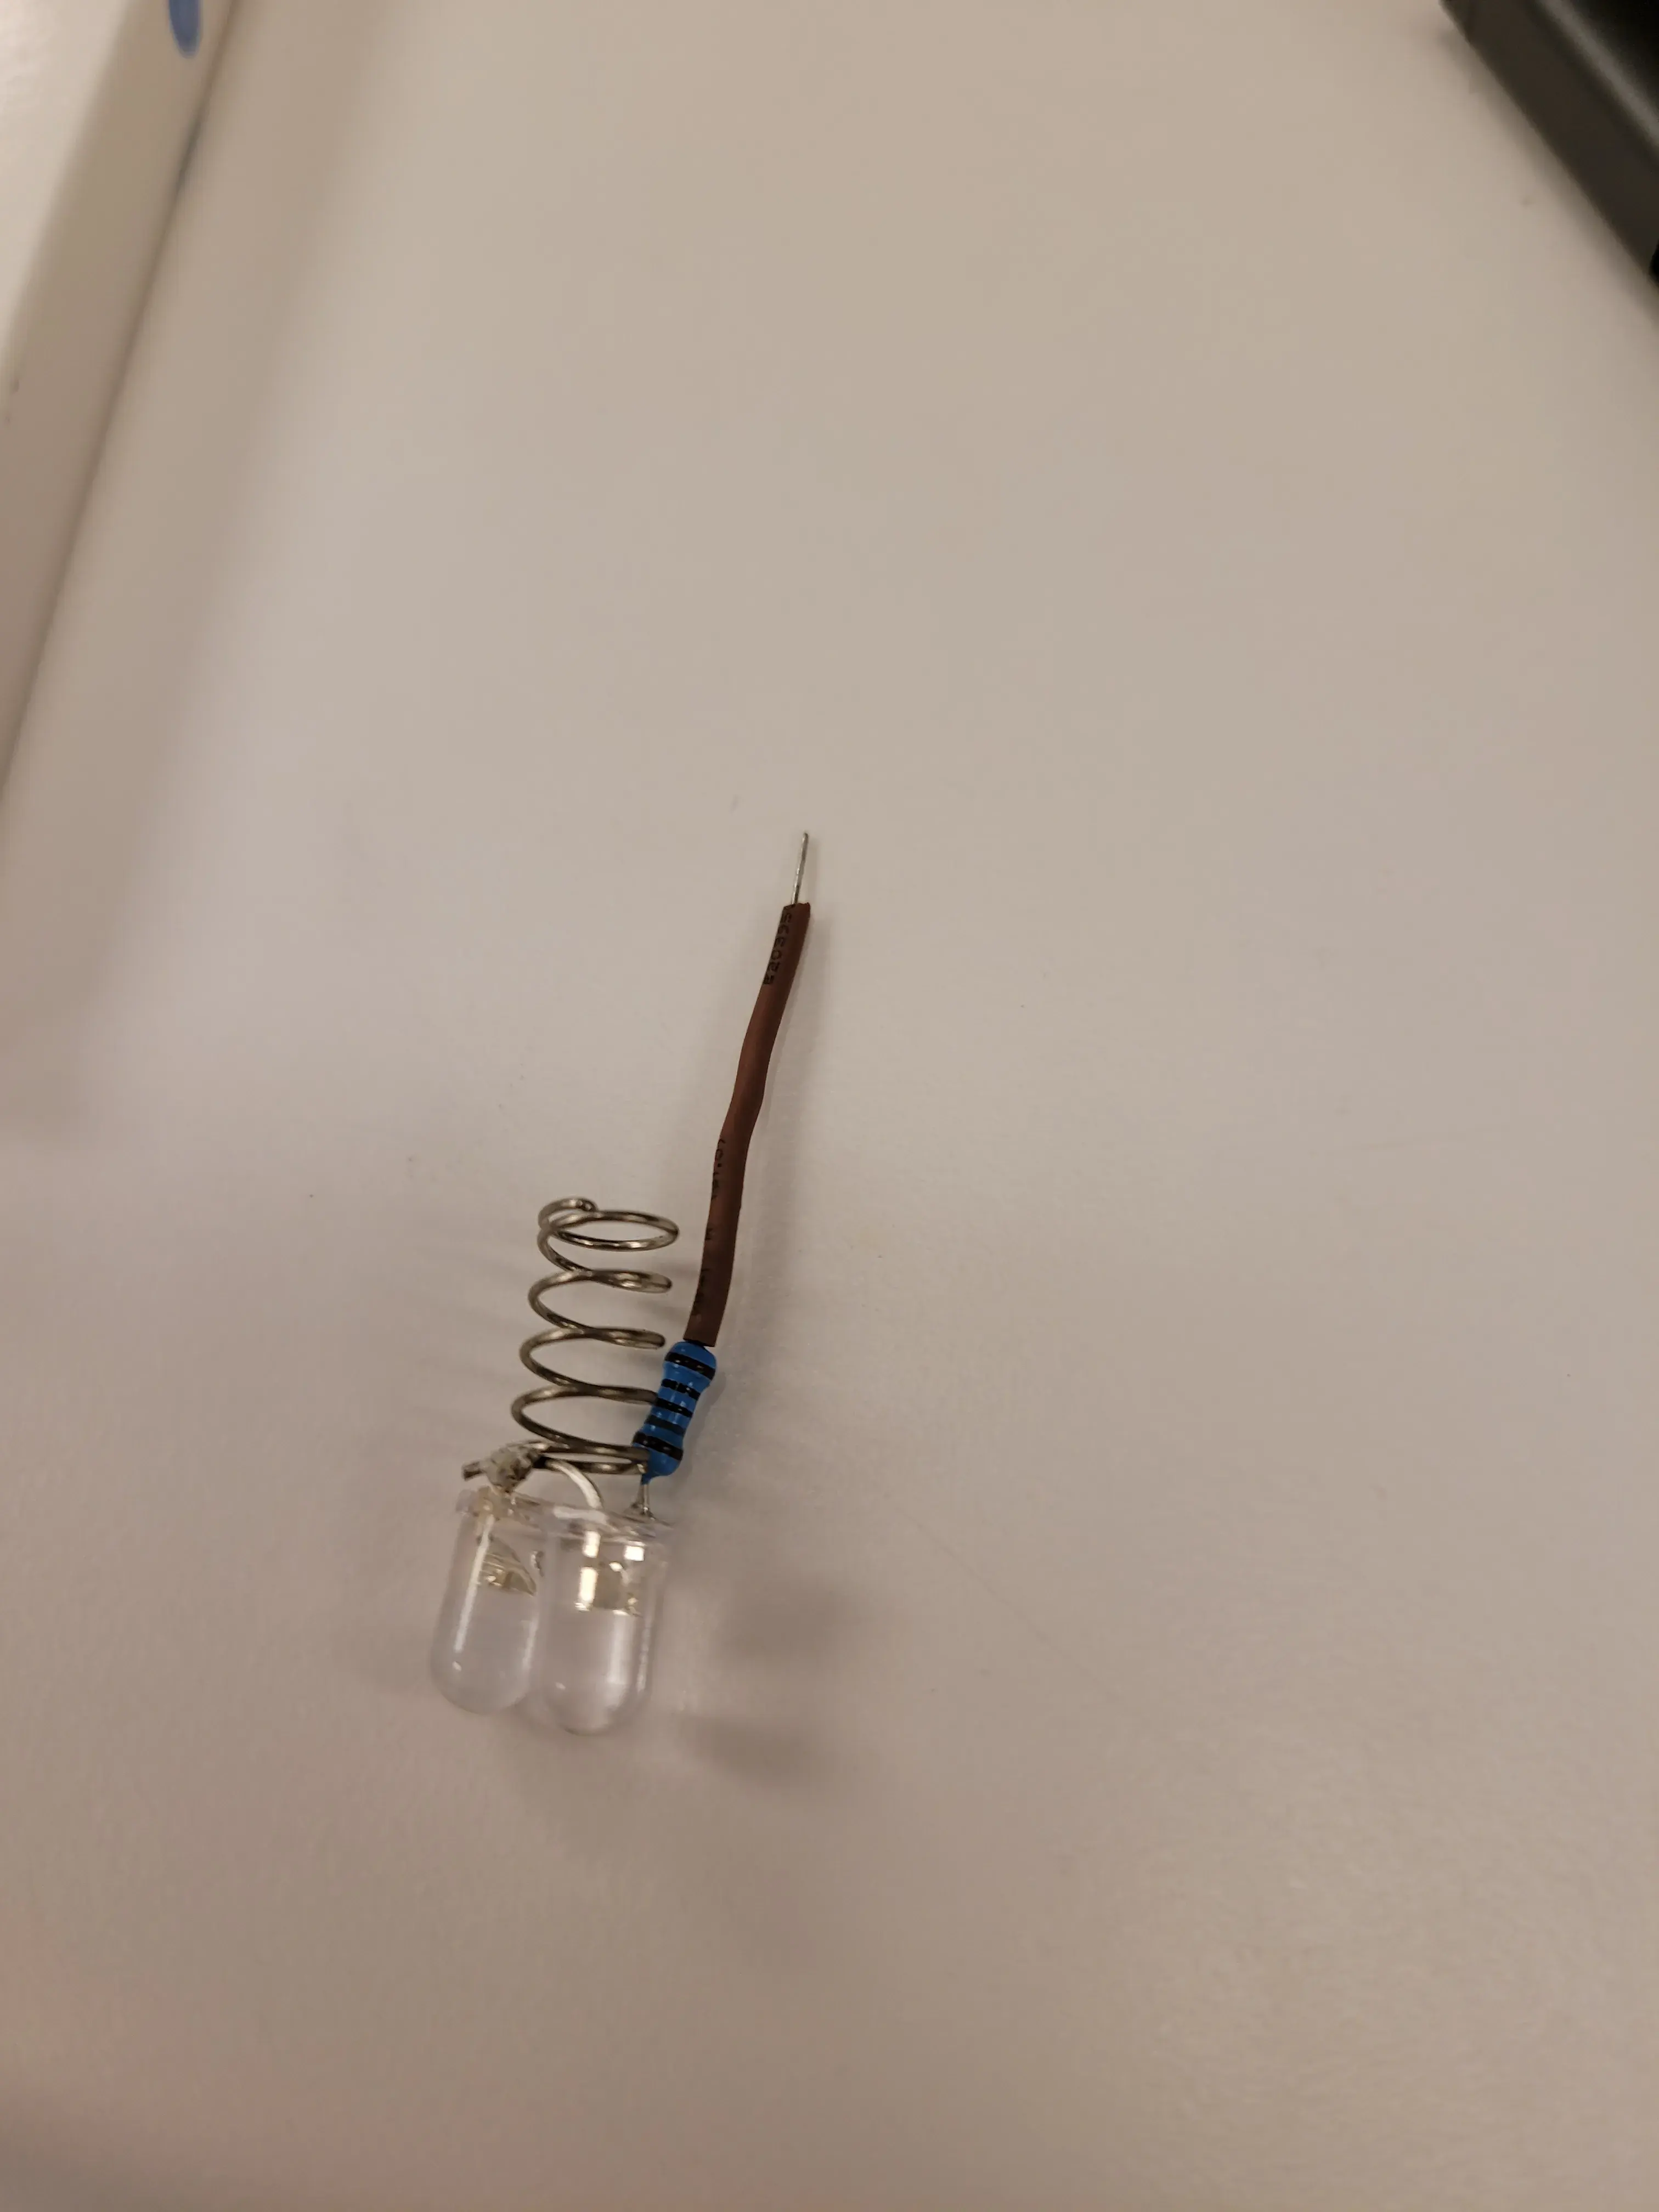
 While the parts were shipping, I also soldered a prototype for the neopixel/electronics assembly.
![]()
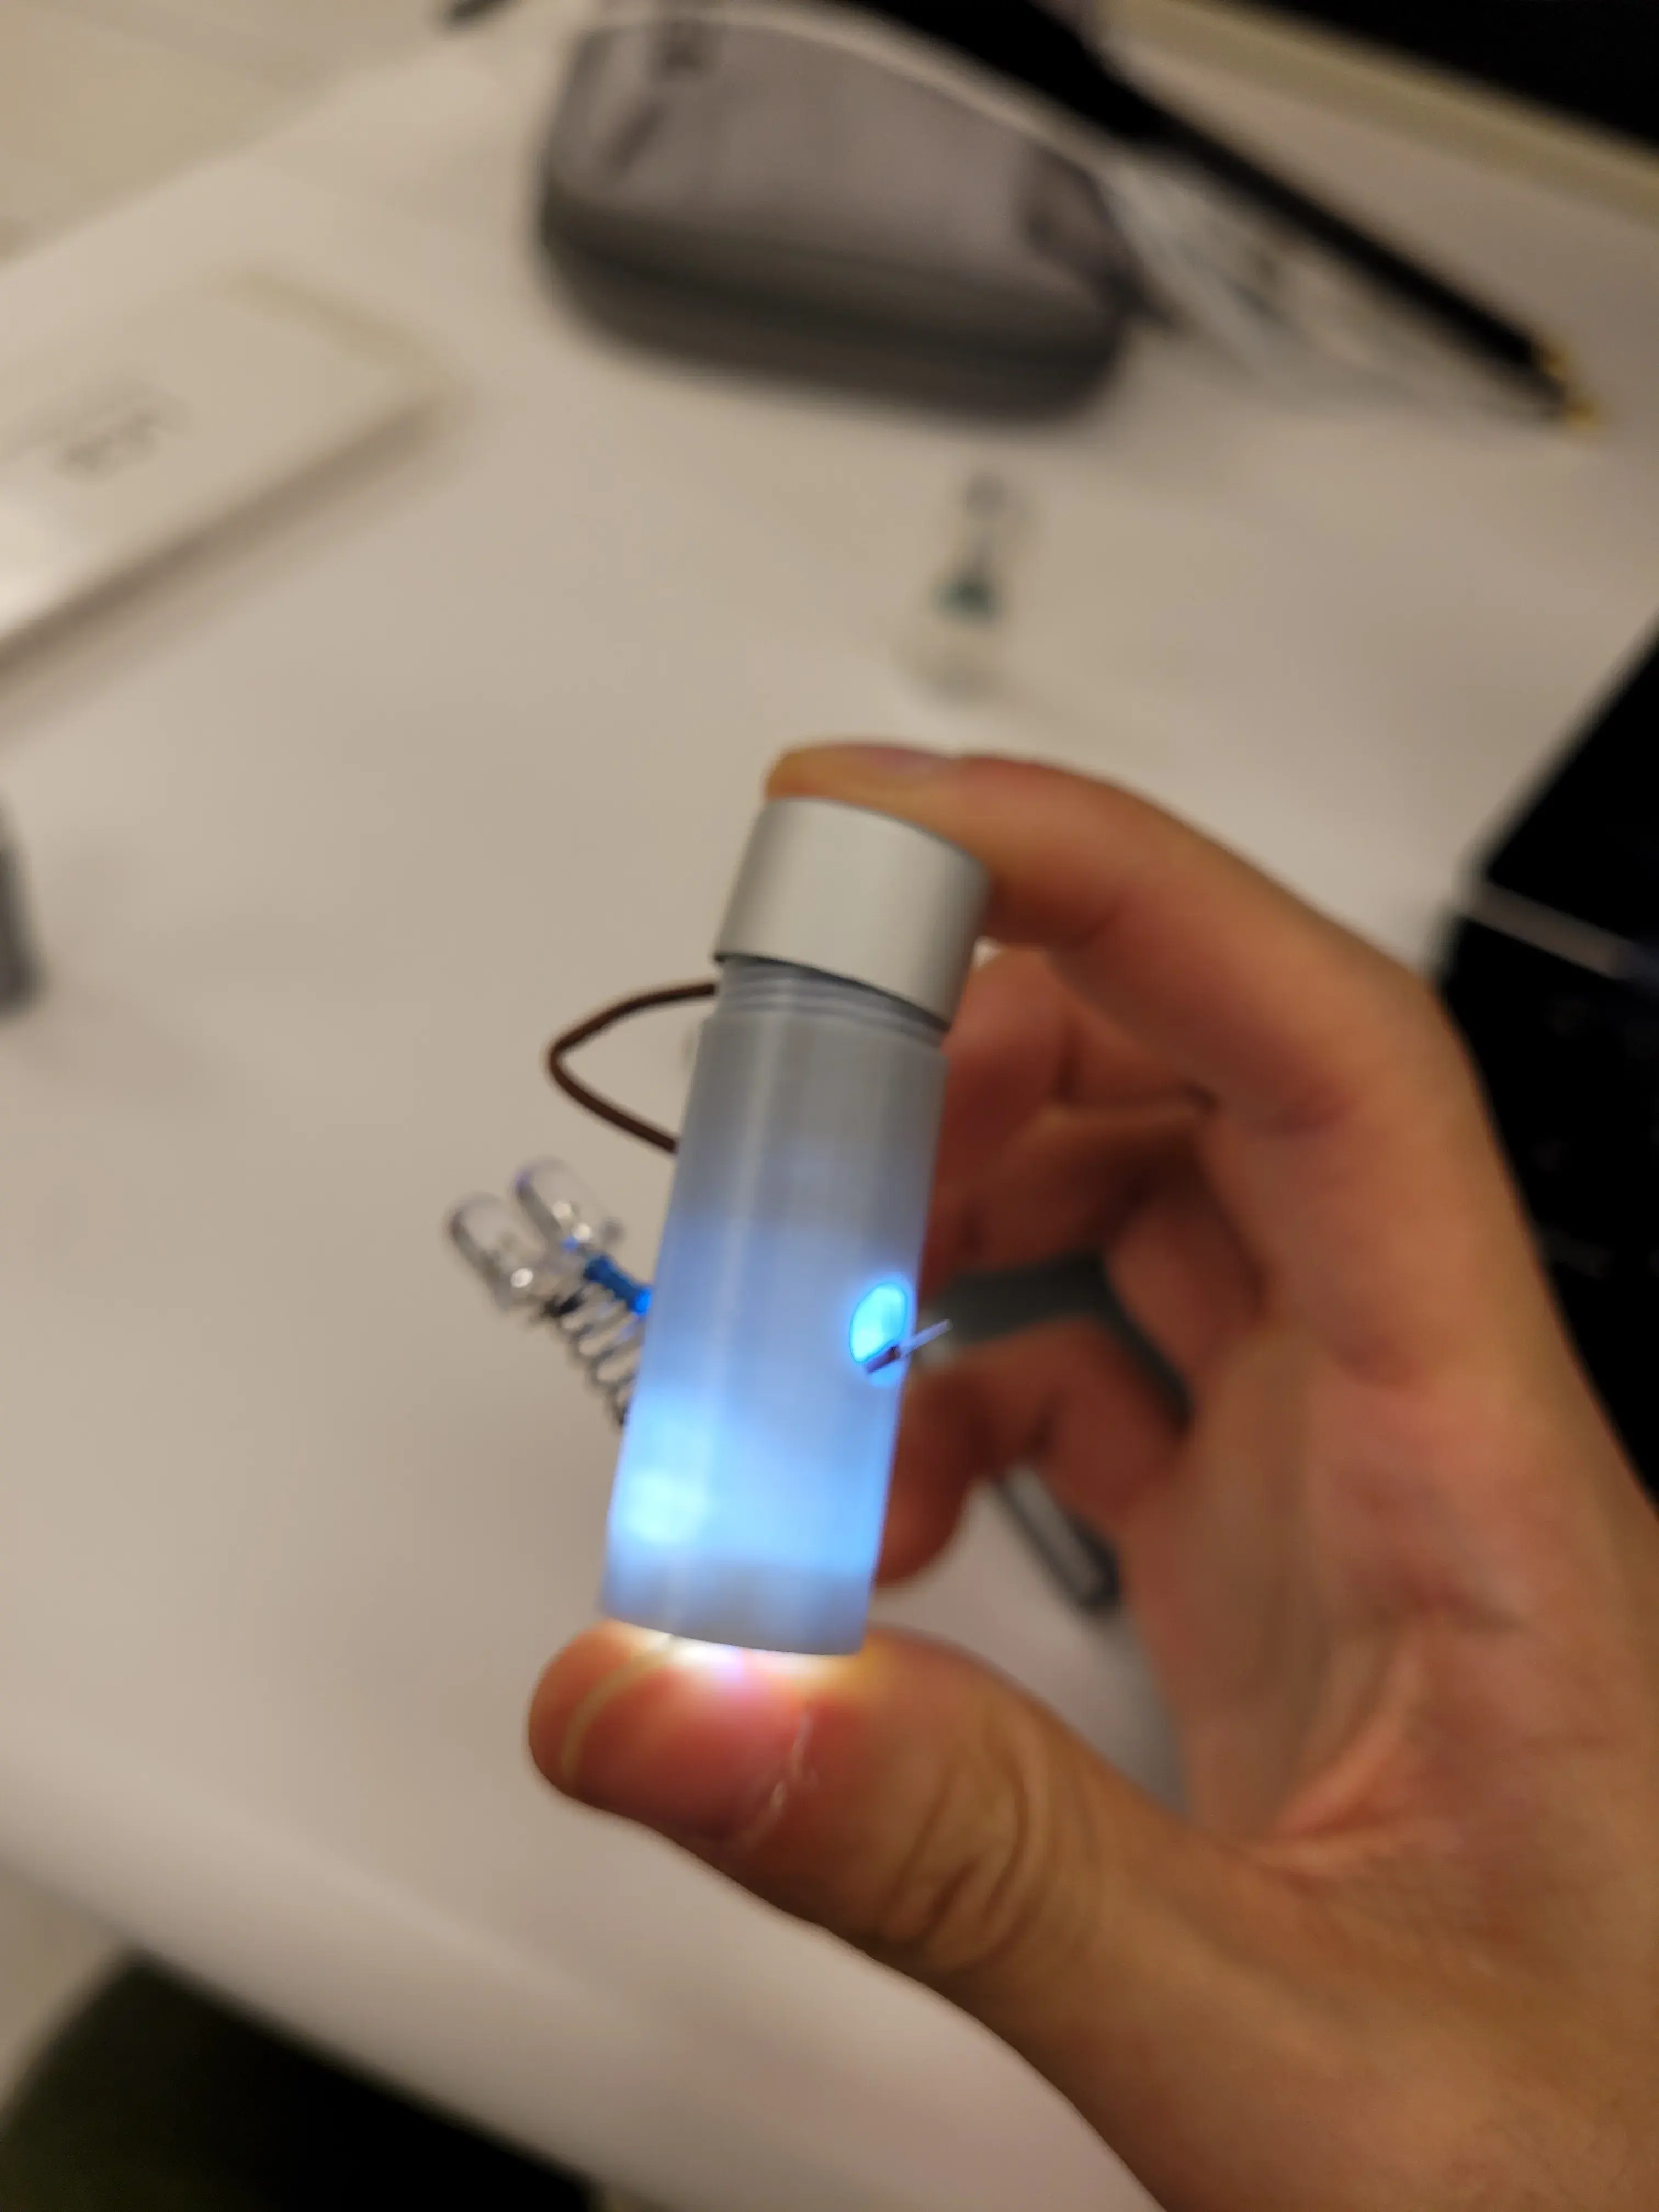
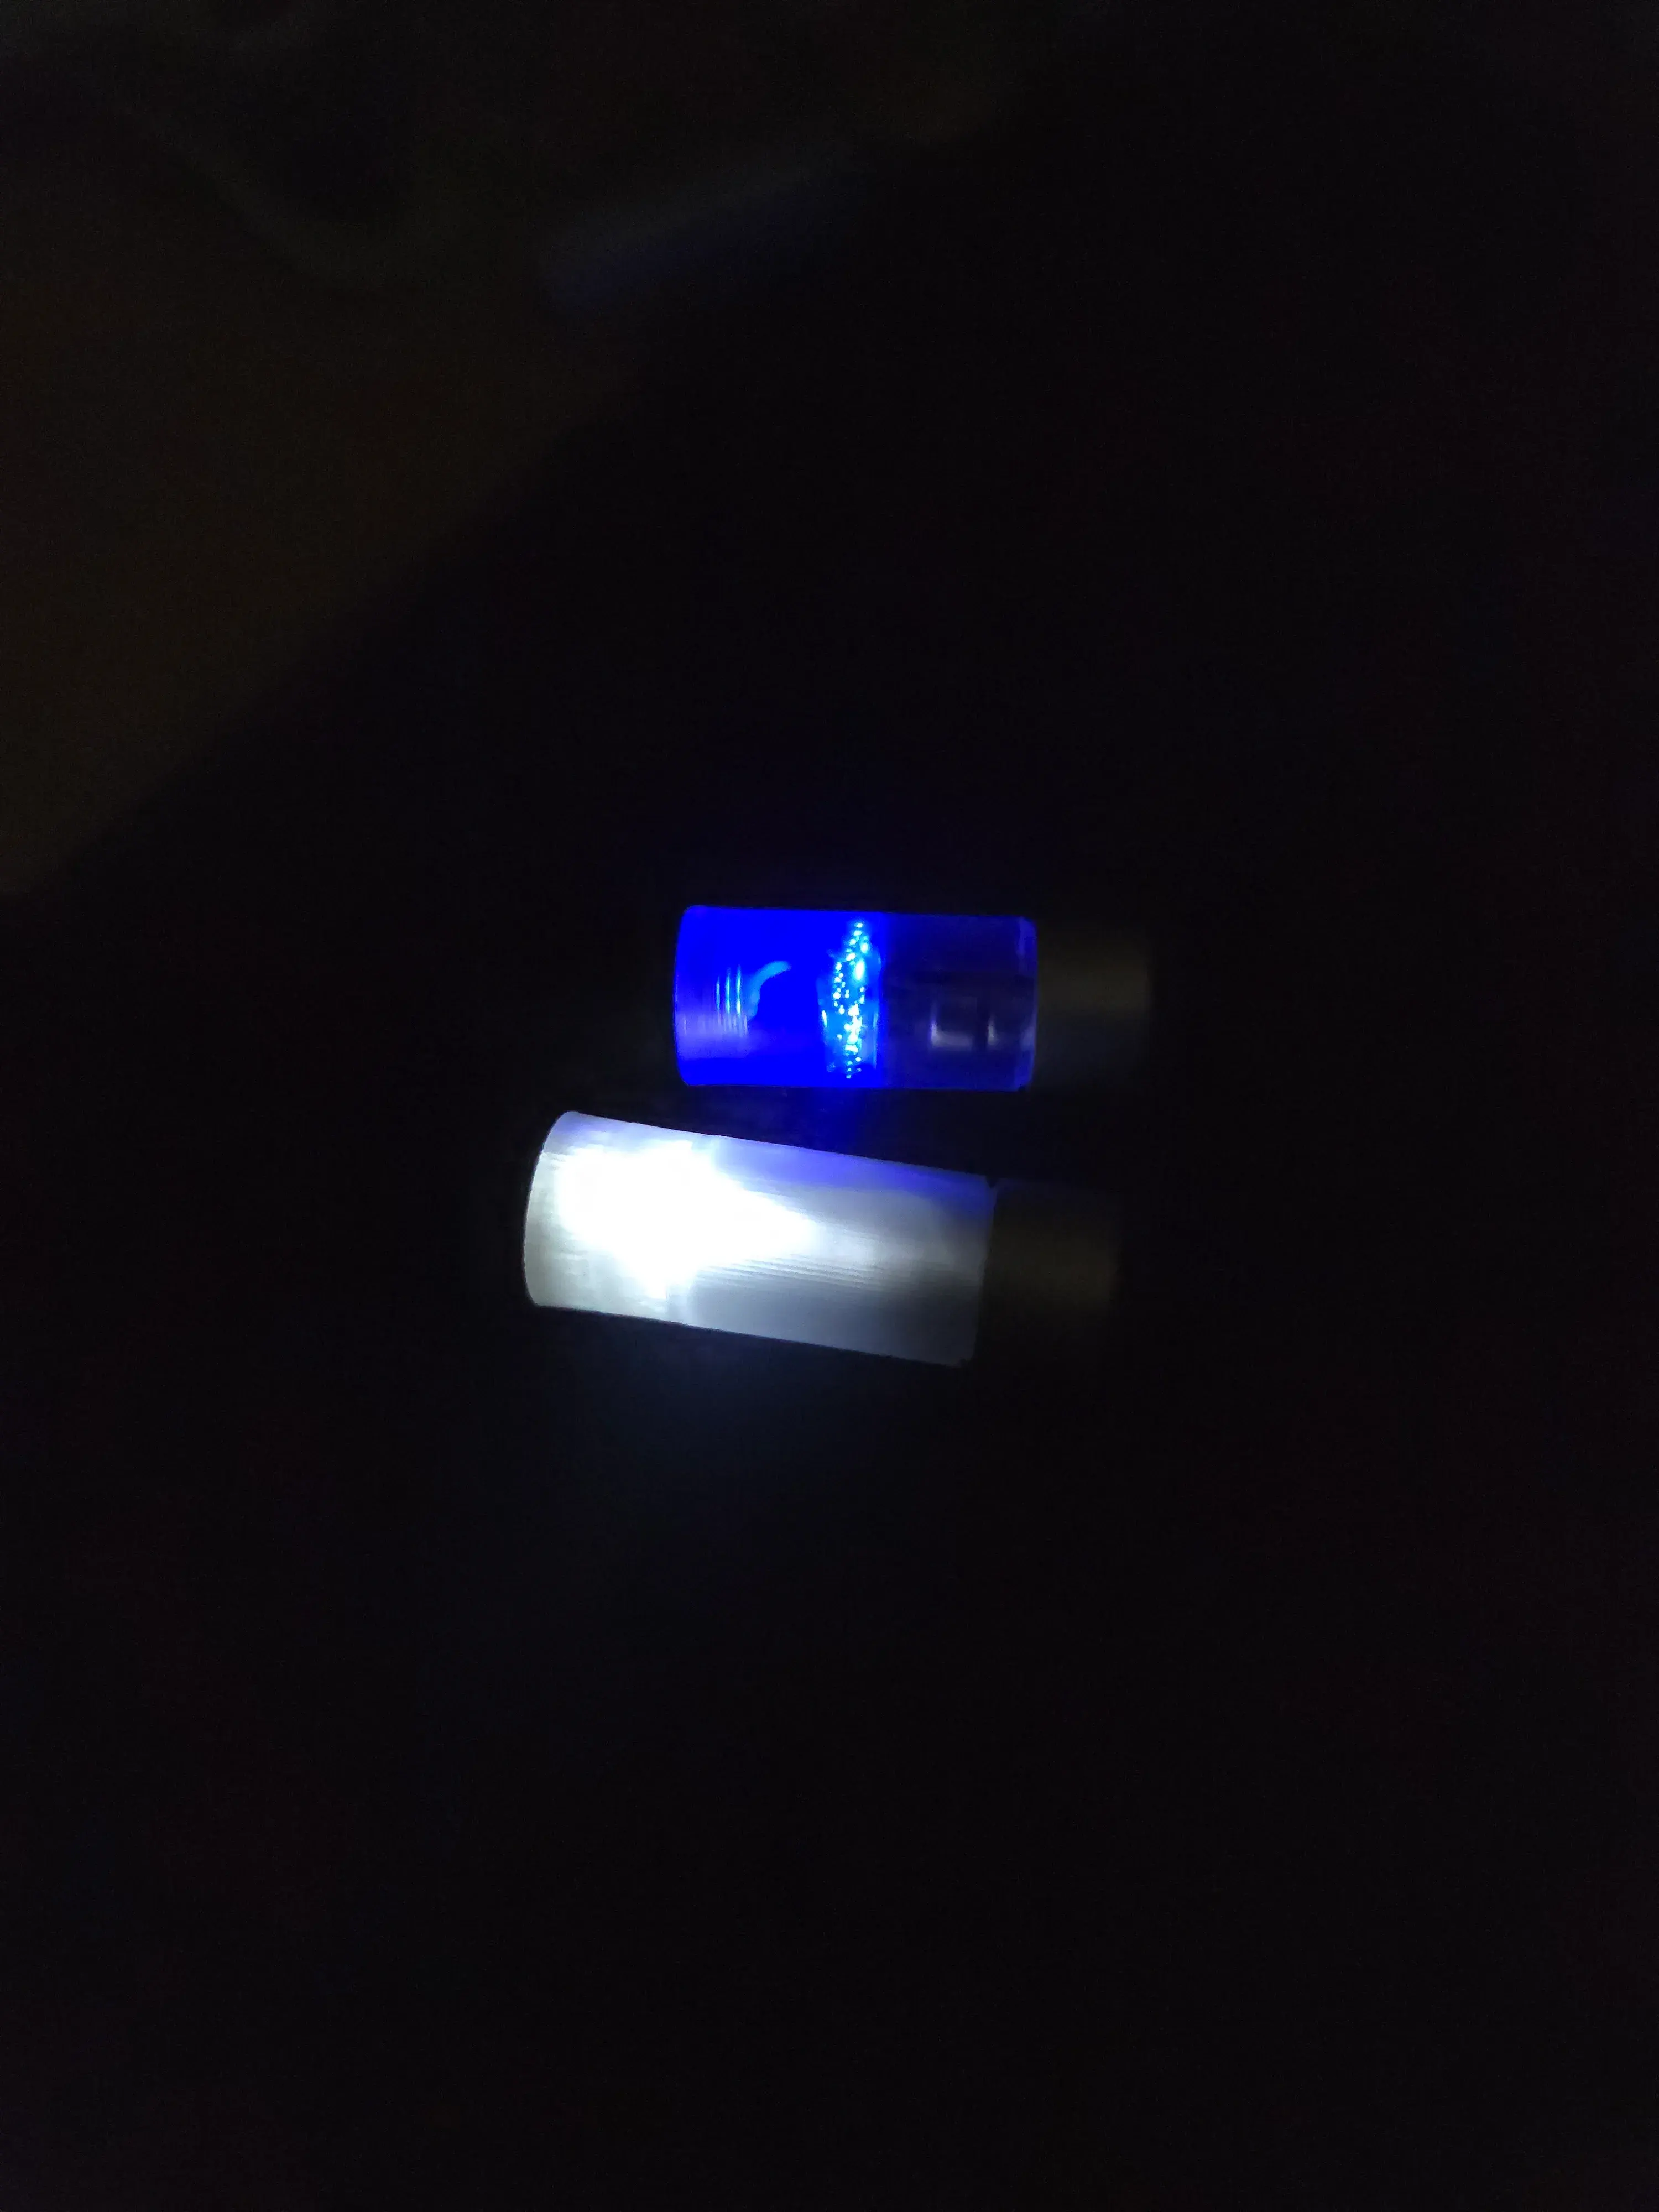
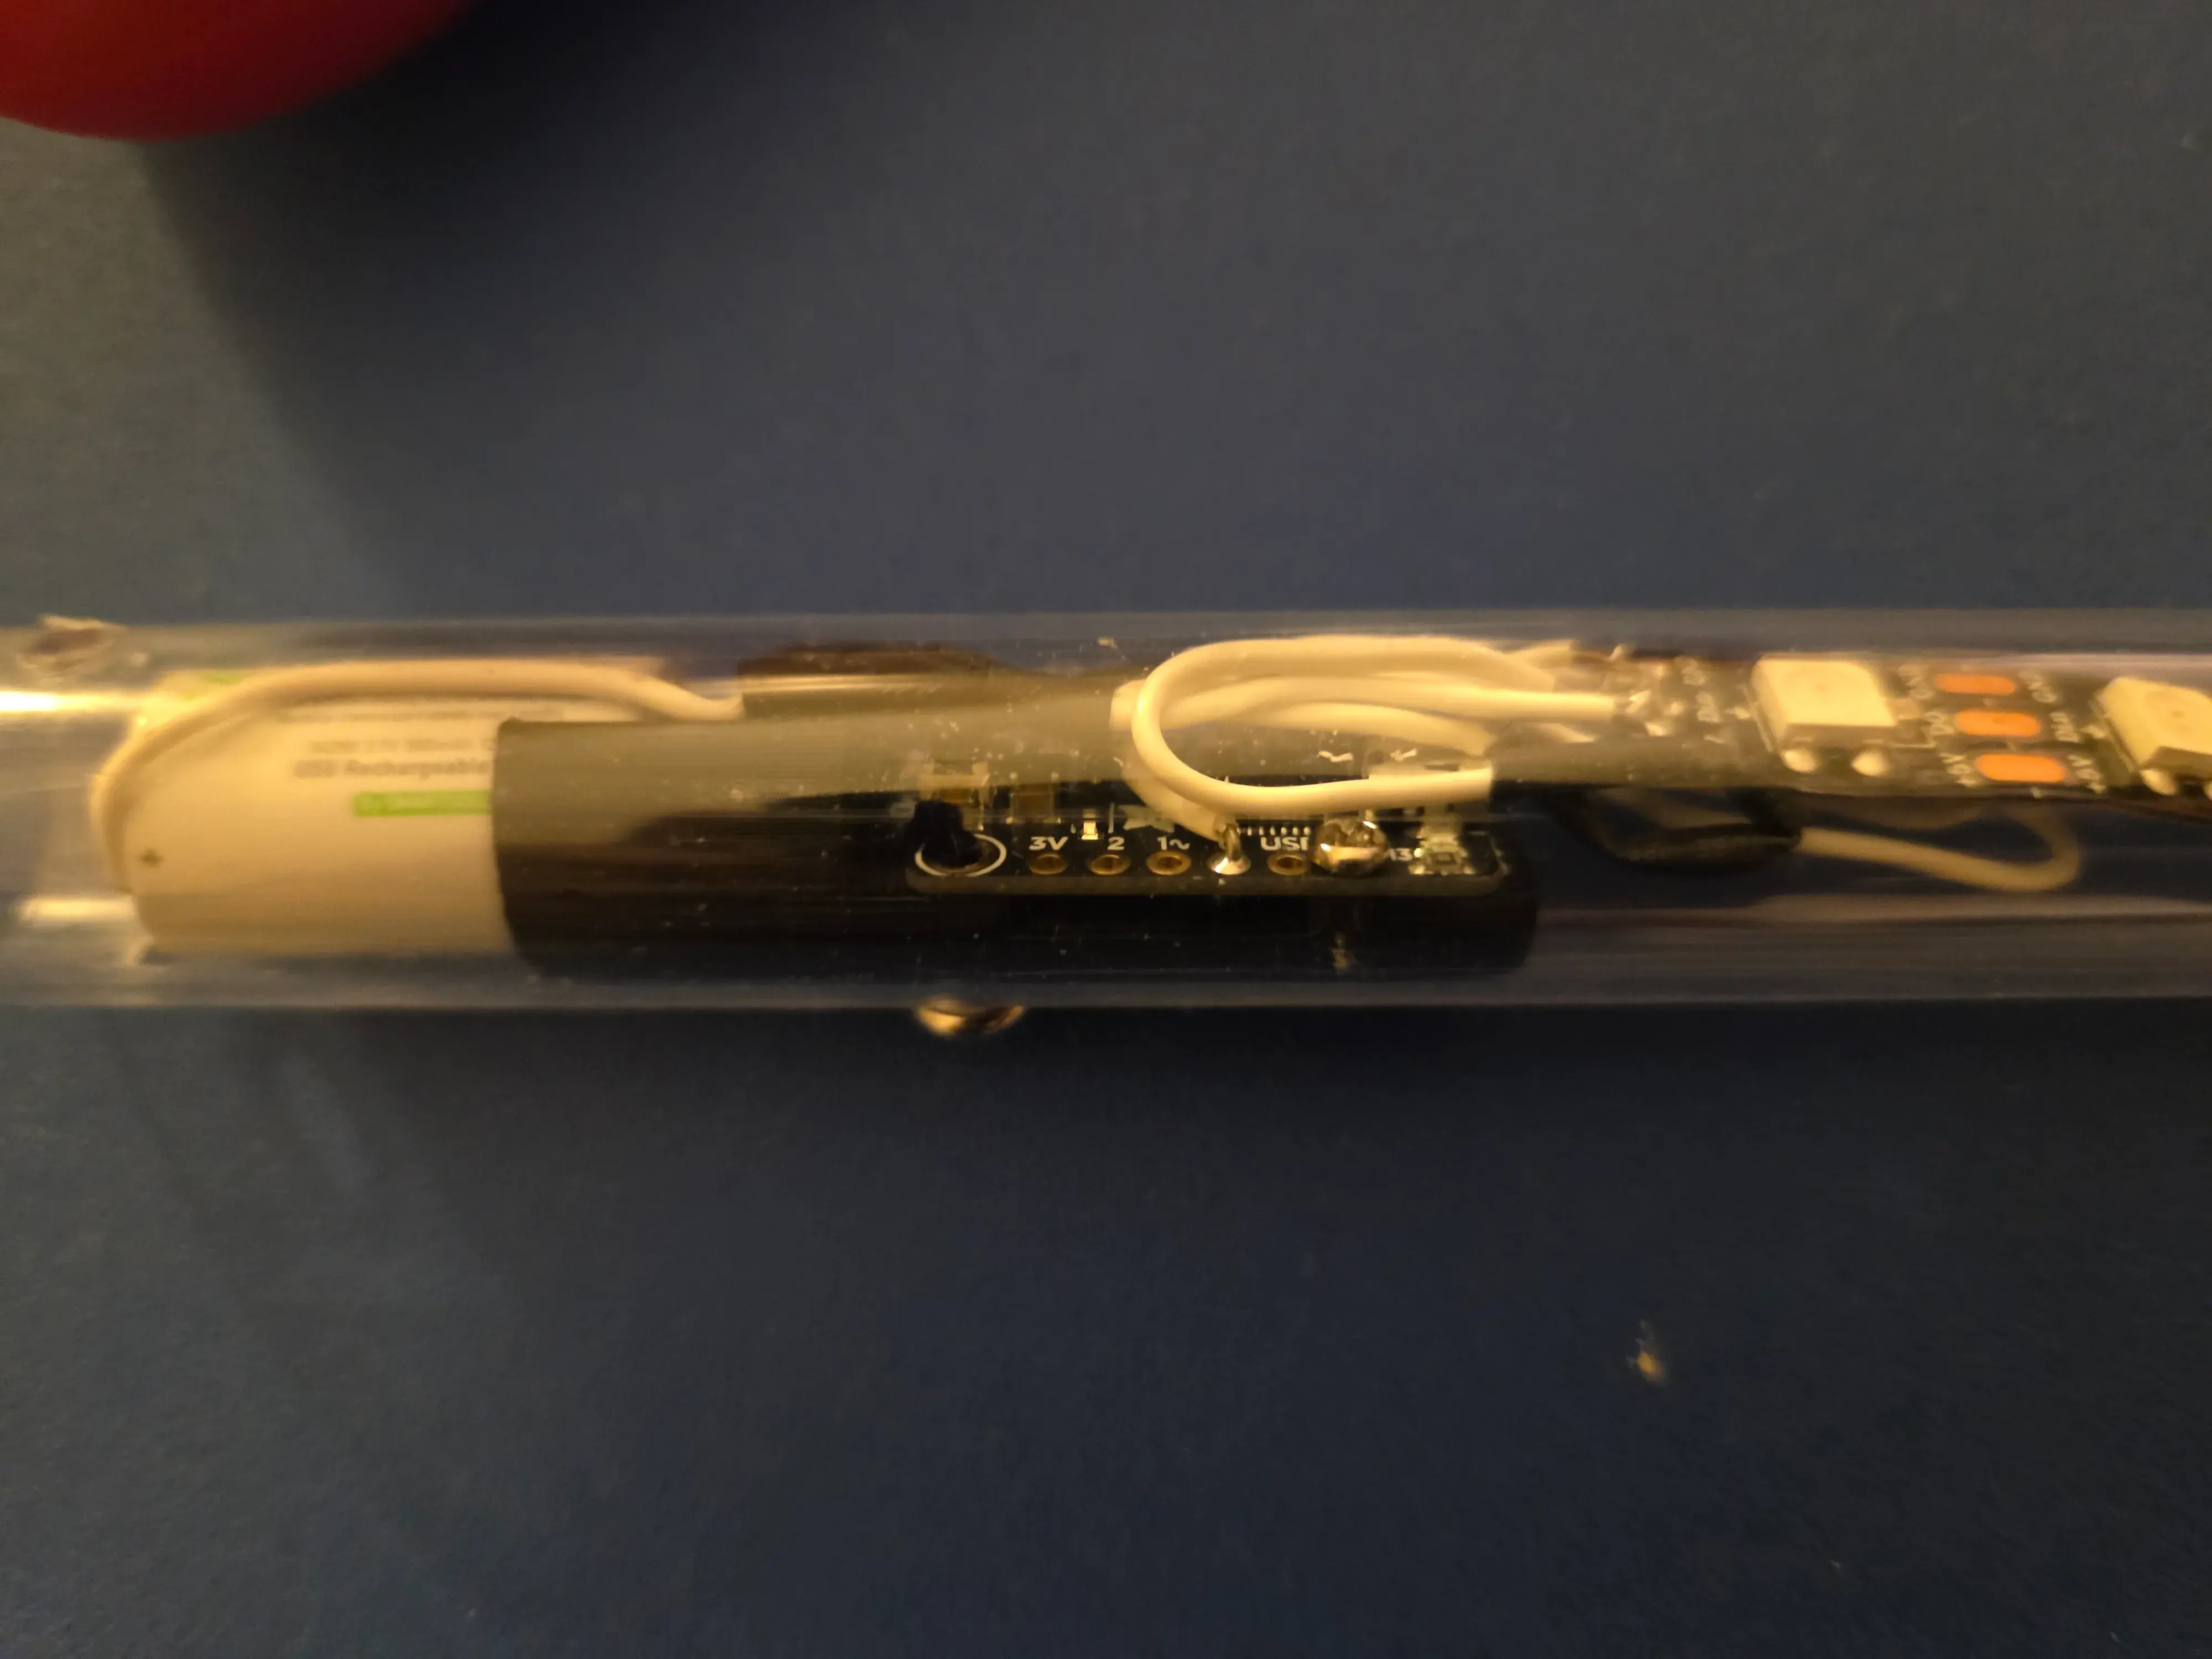
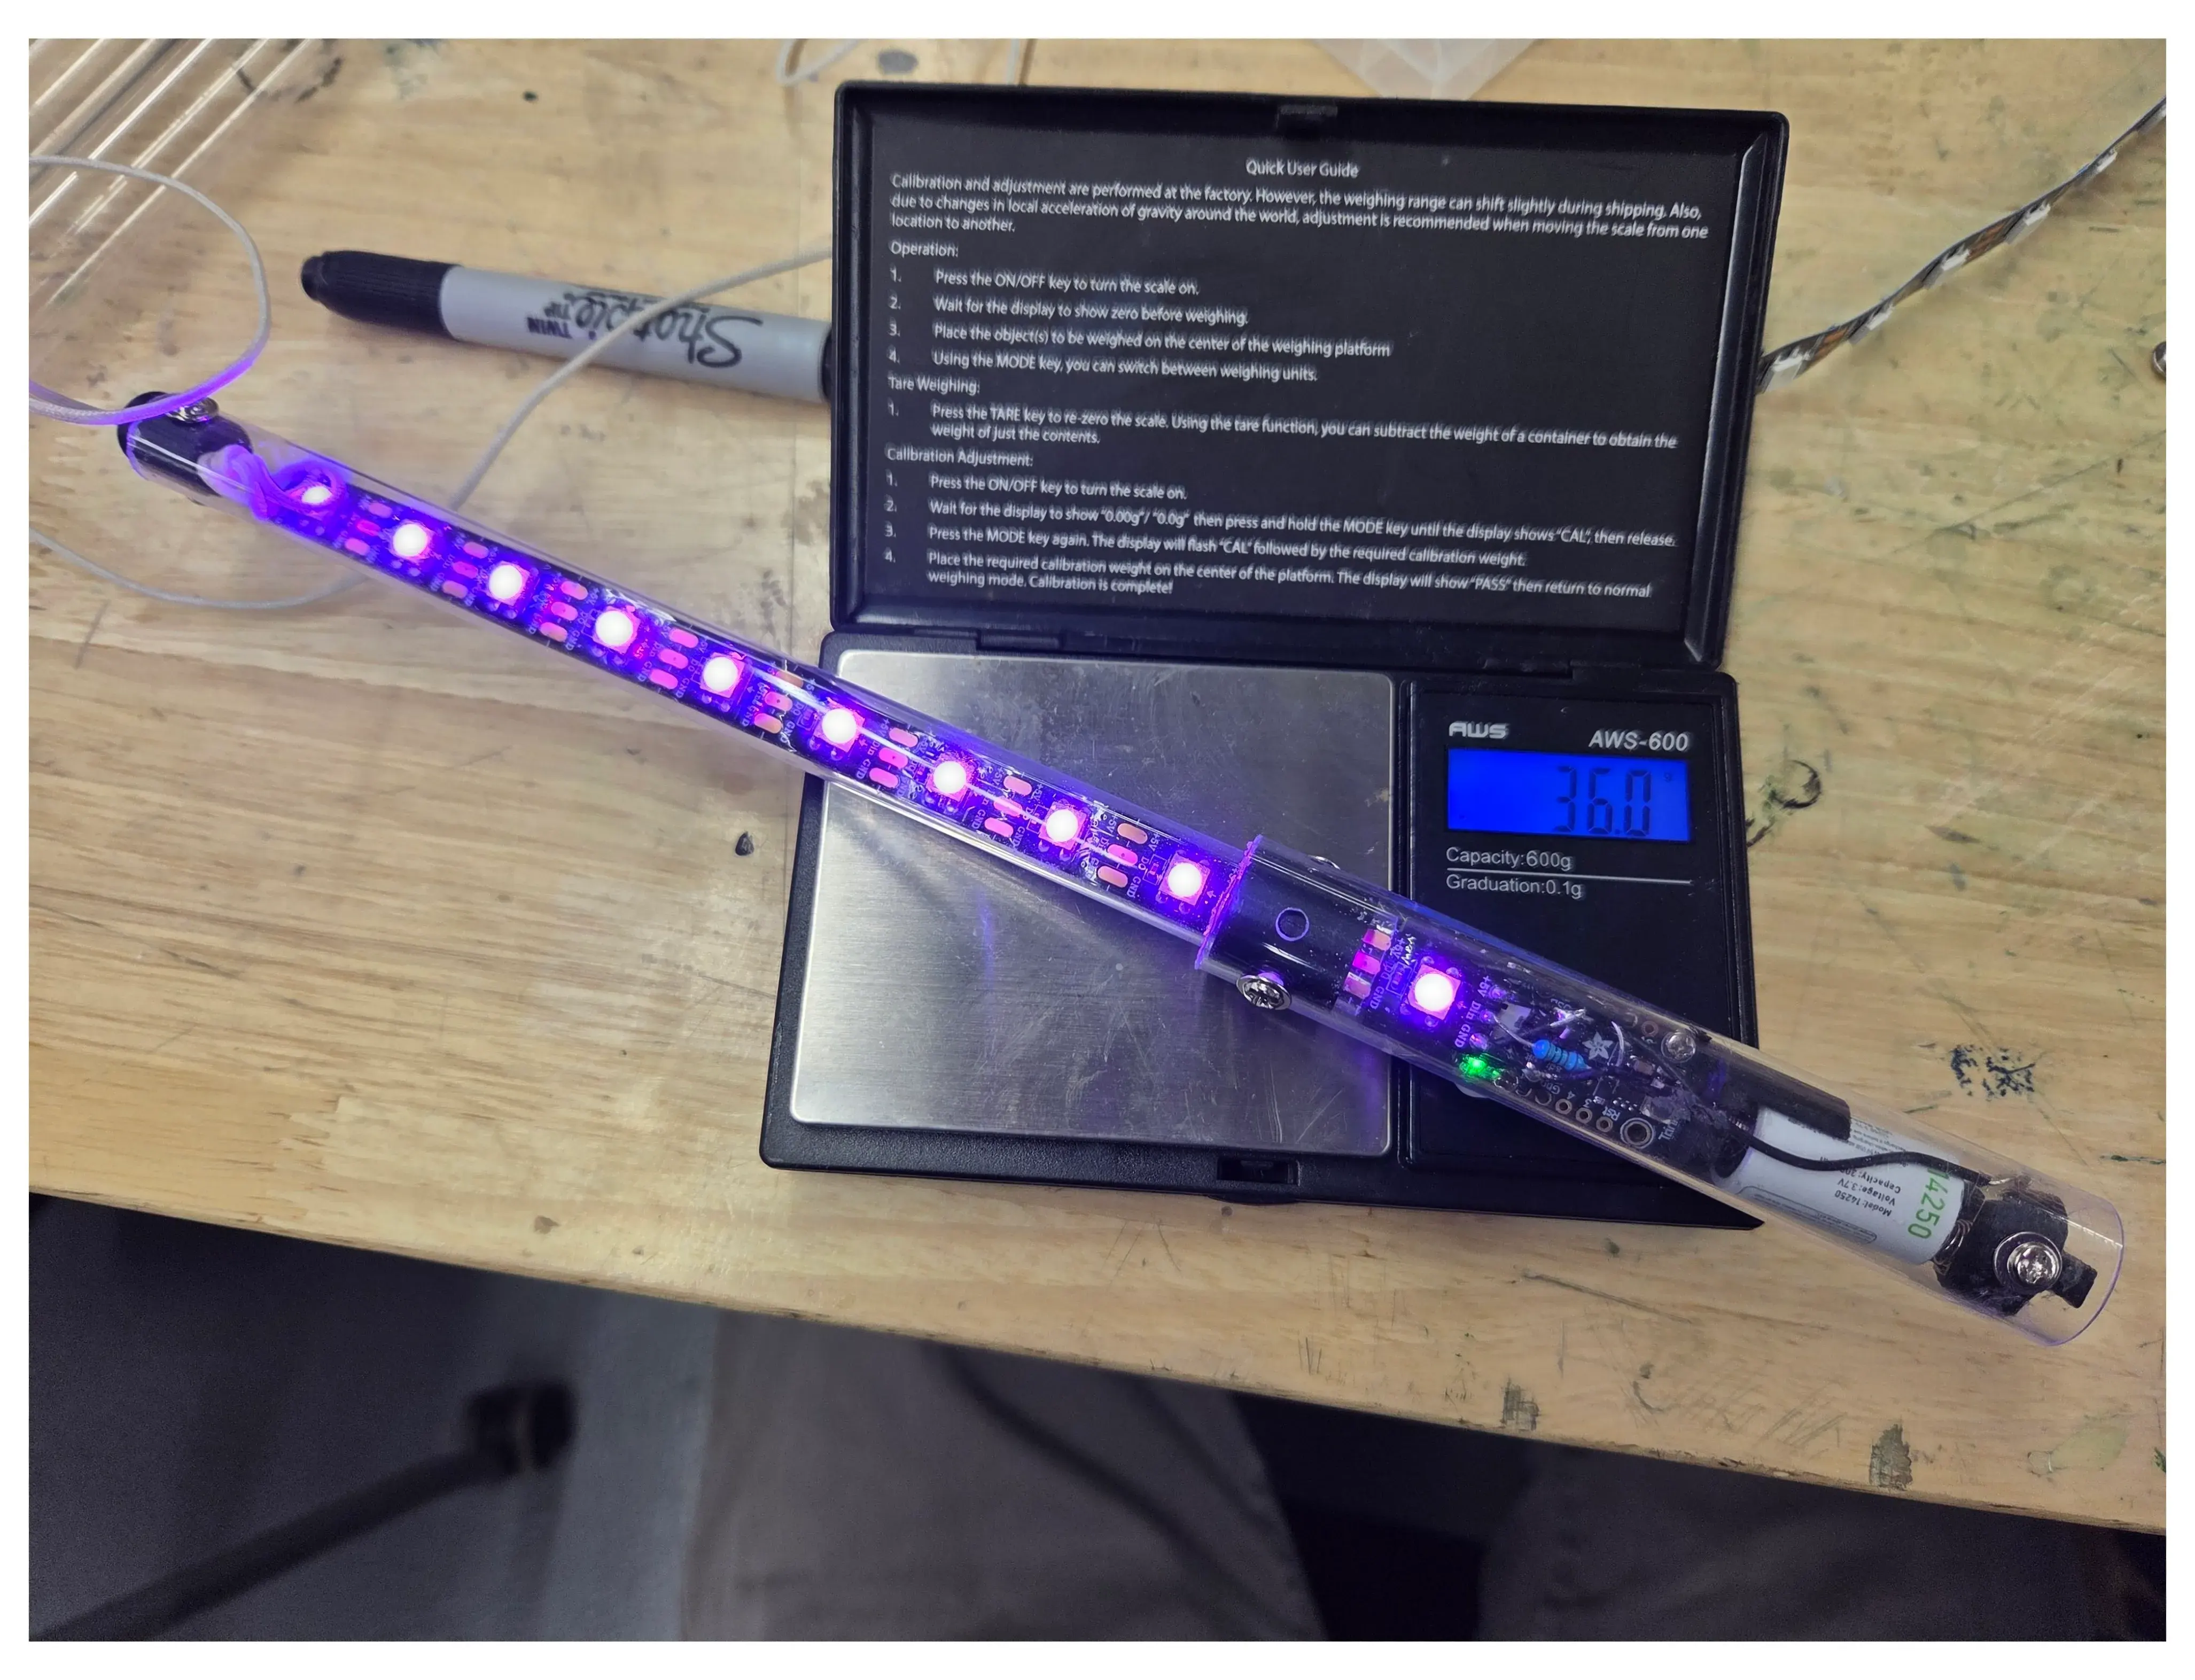
Then I put it in the pipe when it arrived, and it worked immediately!
![]()
![]()
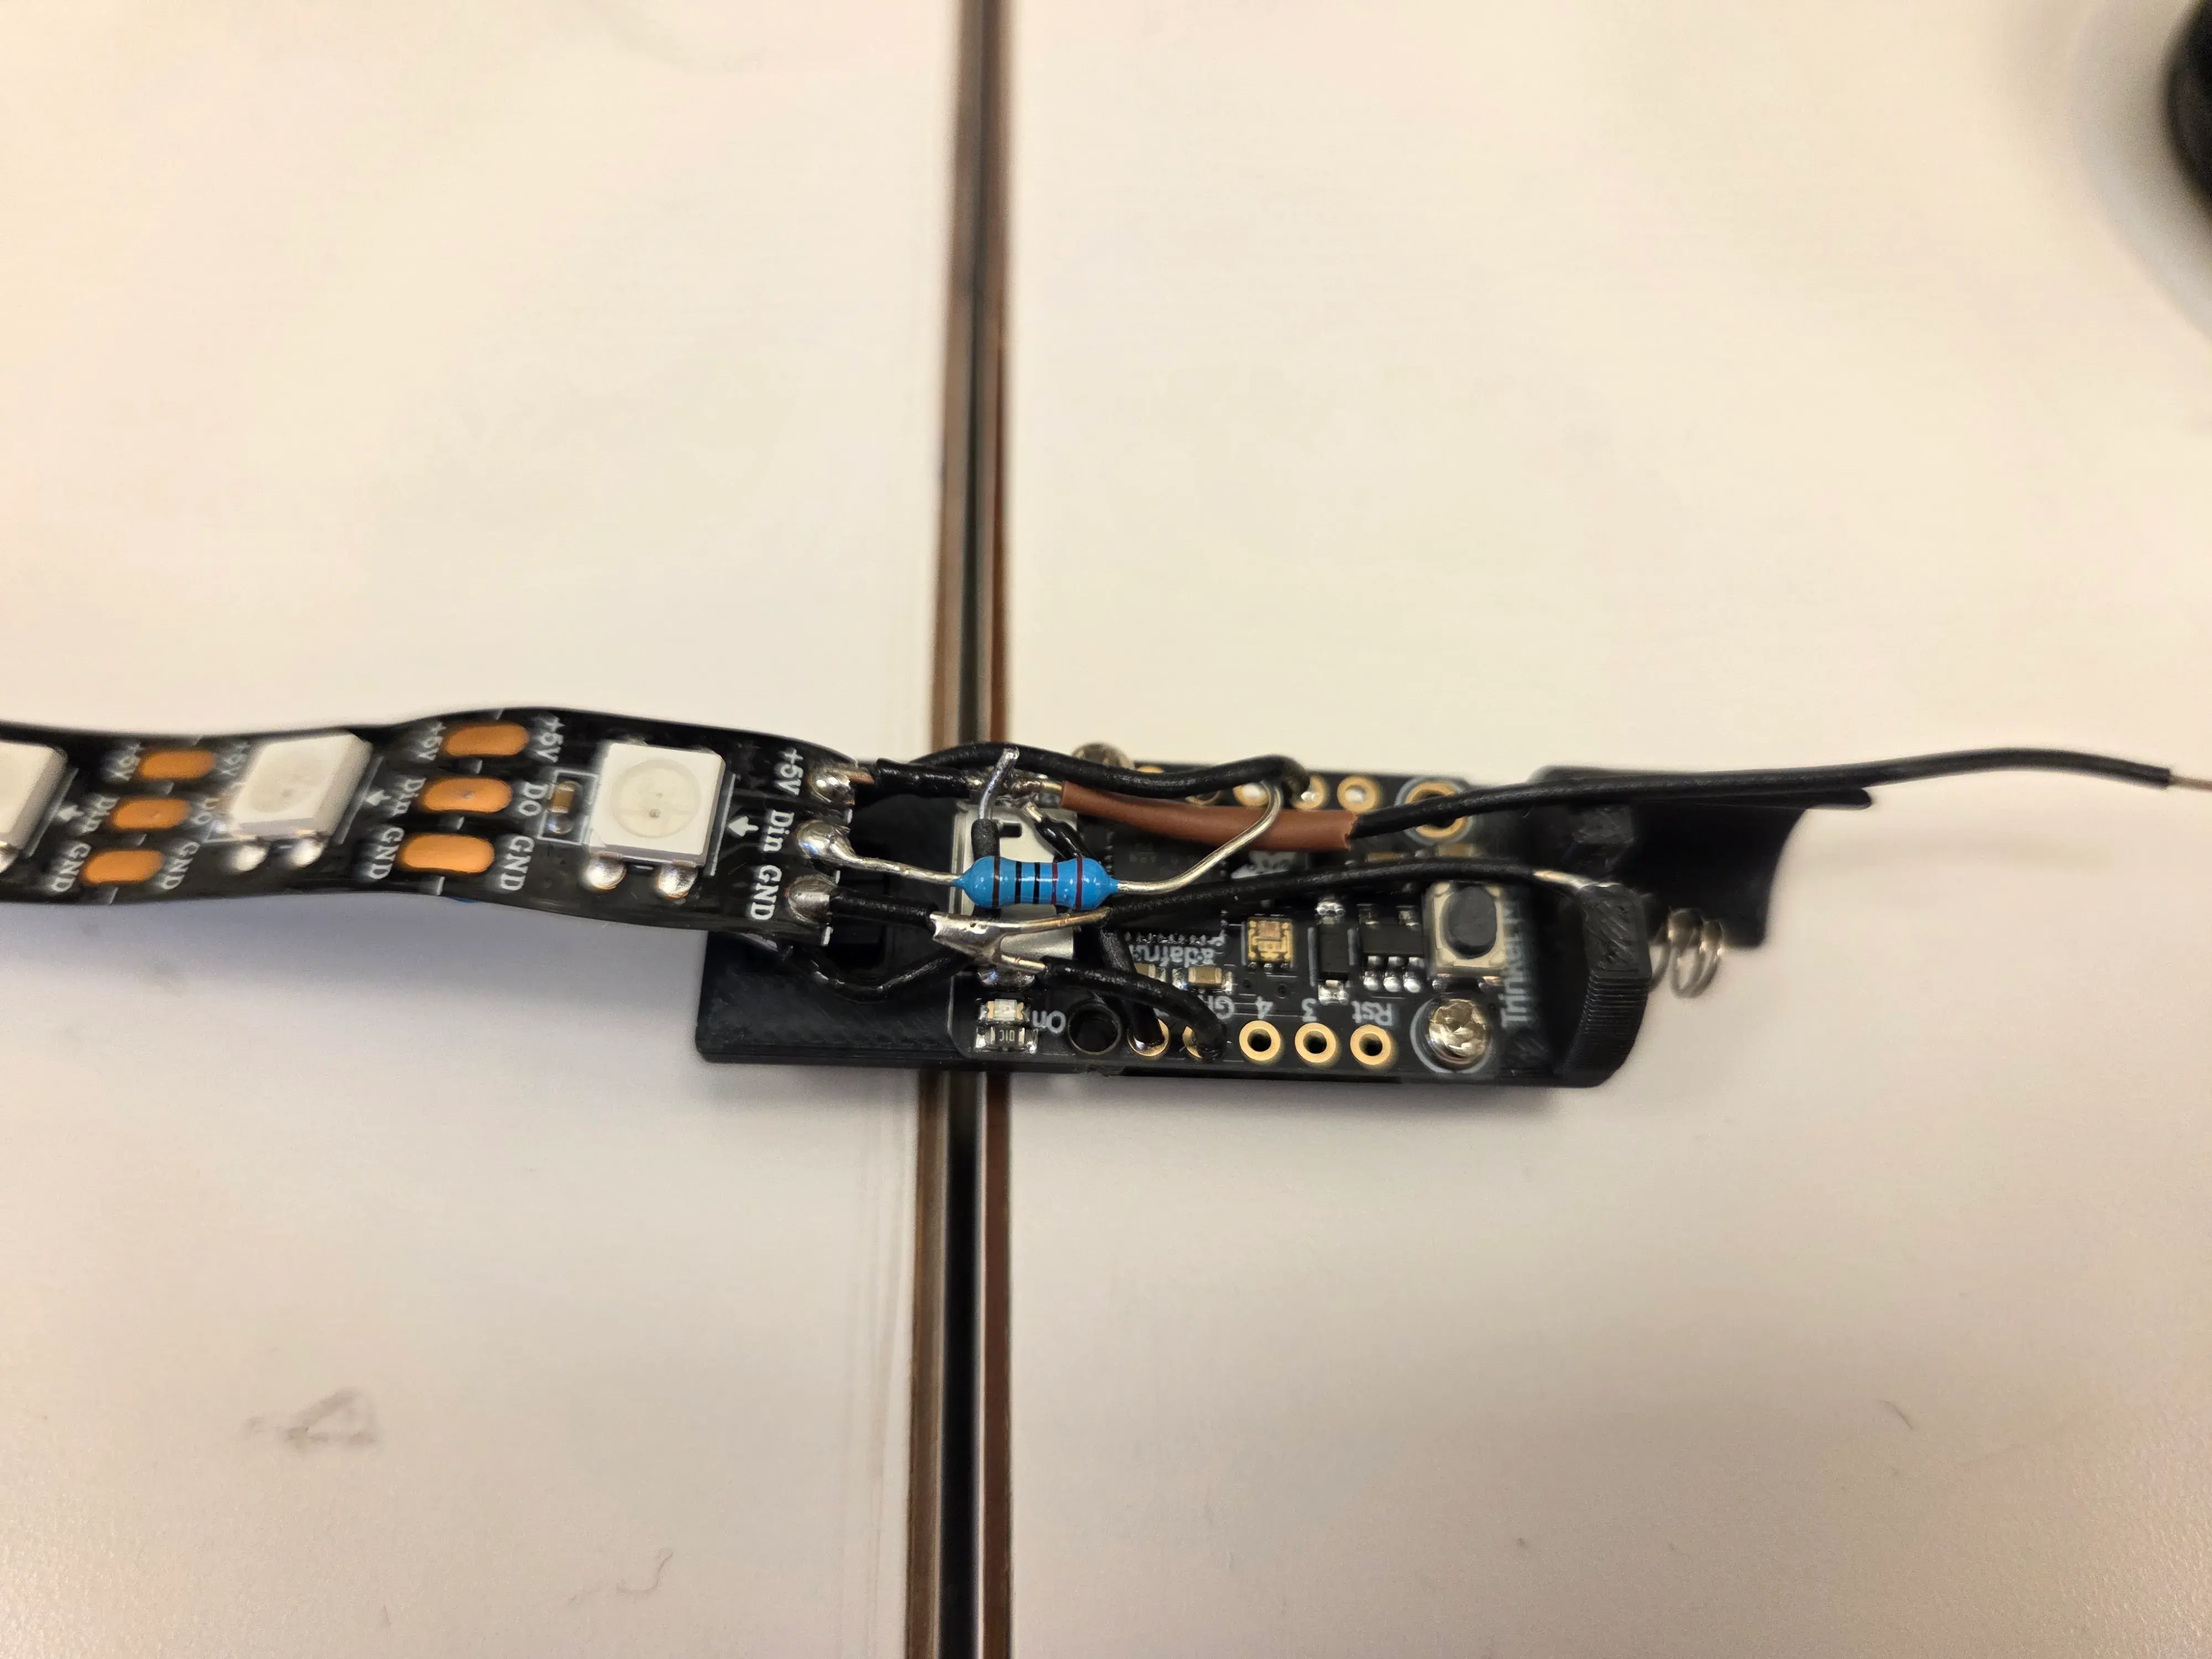
All that was left was to clean up the wiring a little and make a second stick. I also added a button for debugging/controlling the lights, since reflashing code was an absolute pain.
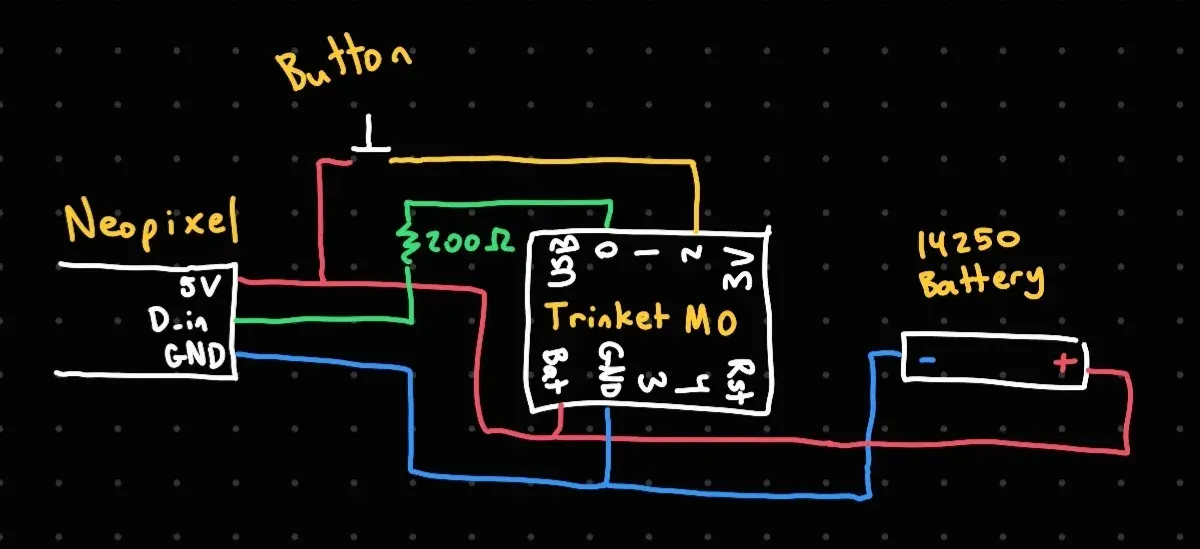
Shoutout to the CICS Makerspace for letting me use their soldering irons and electronics.
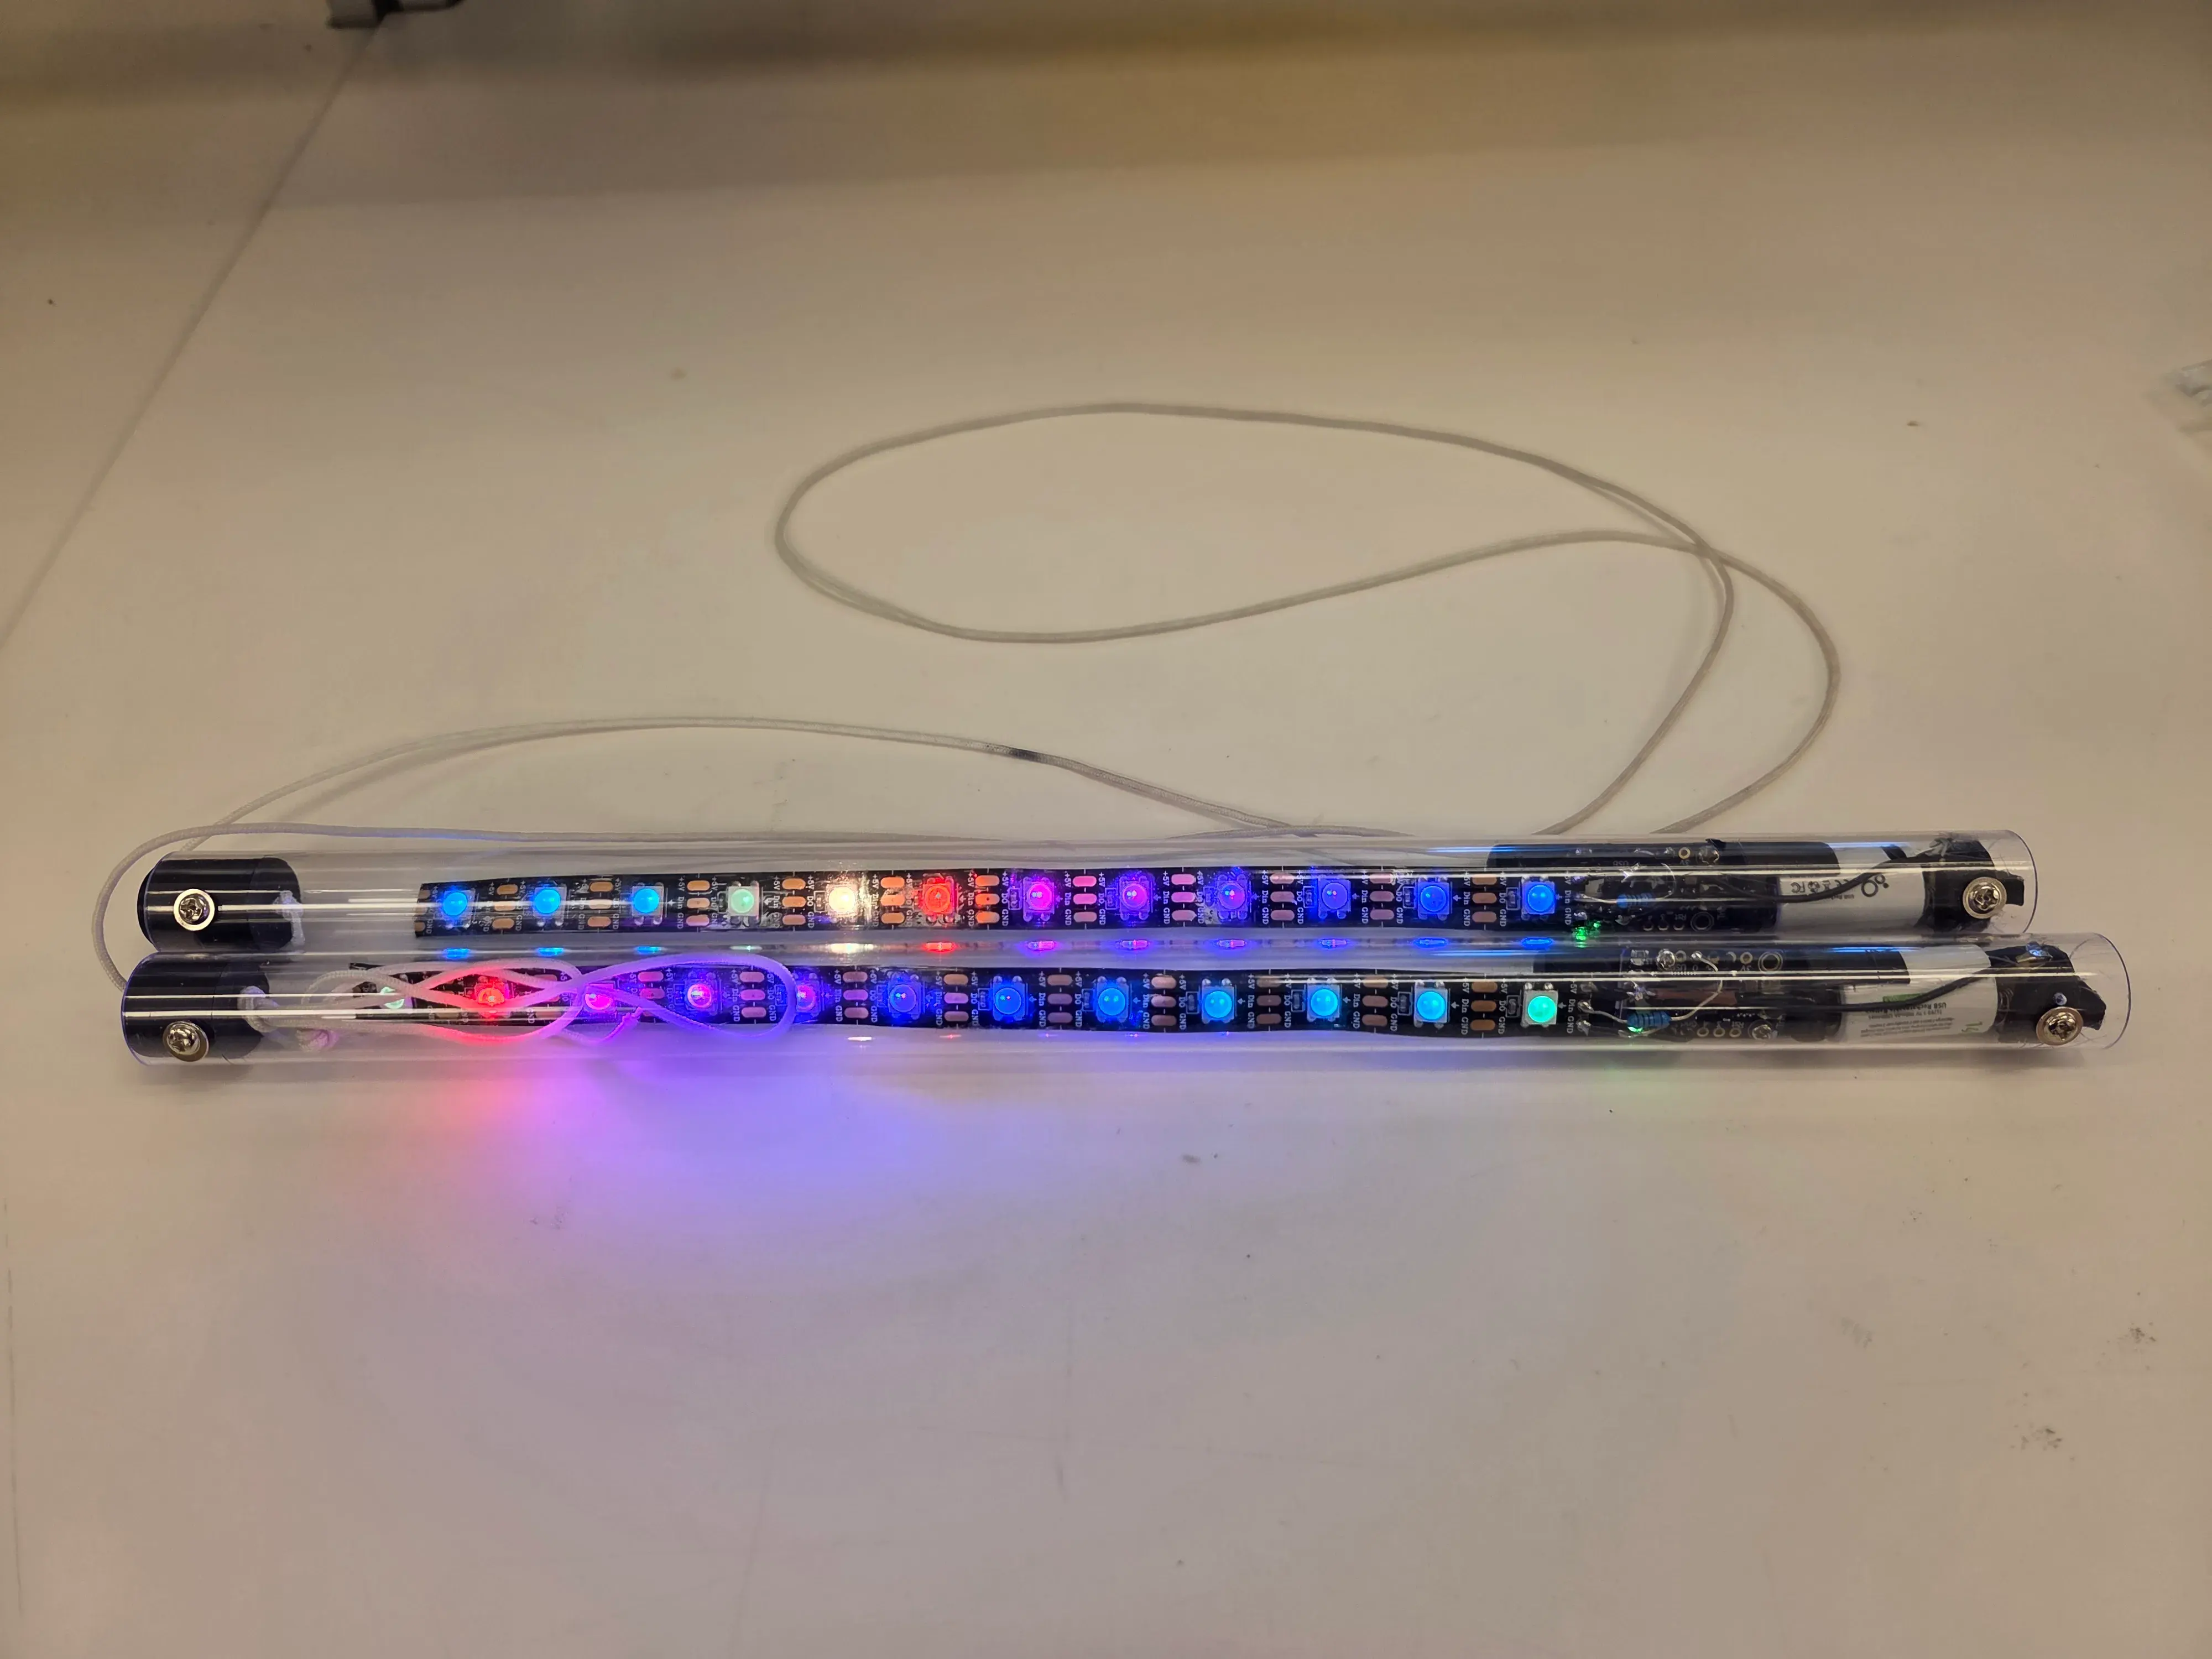
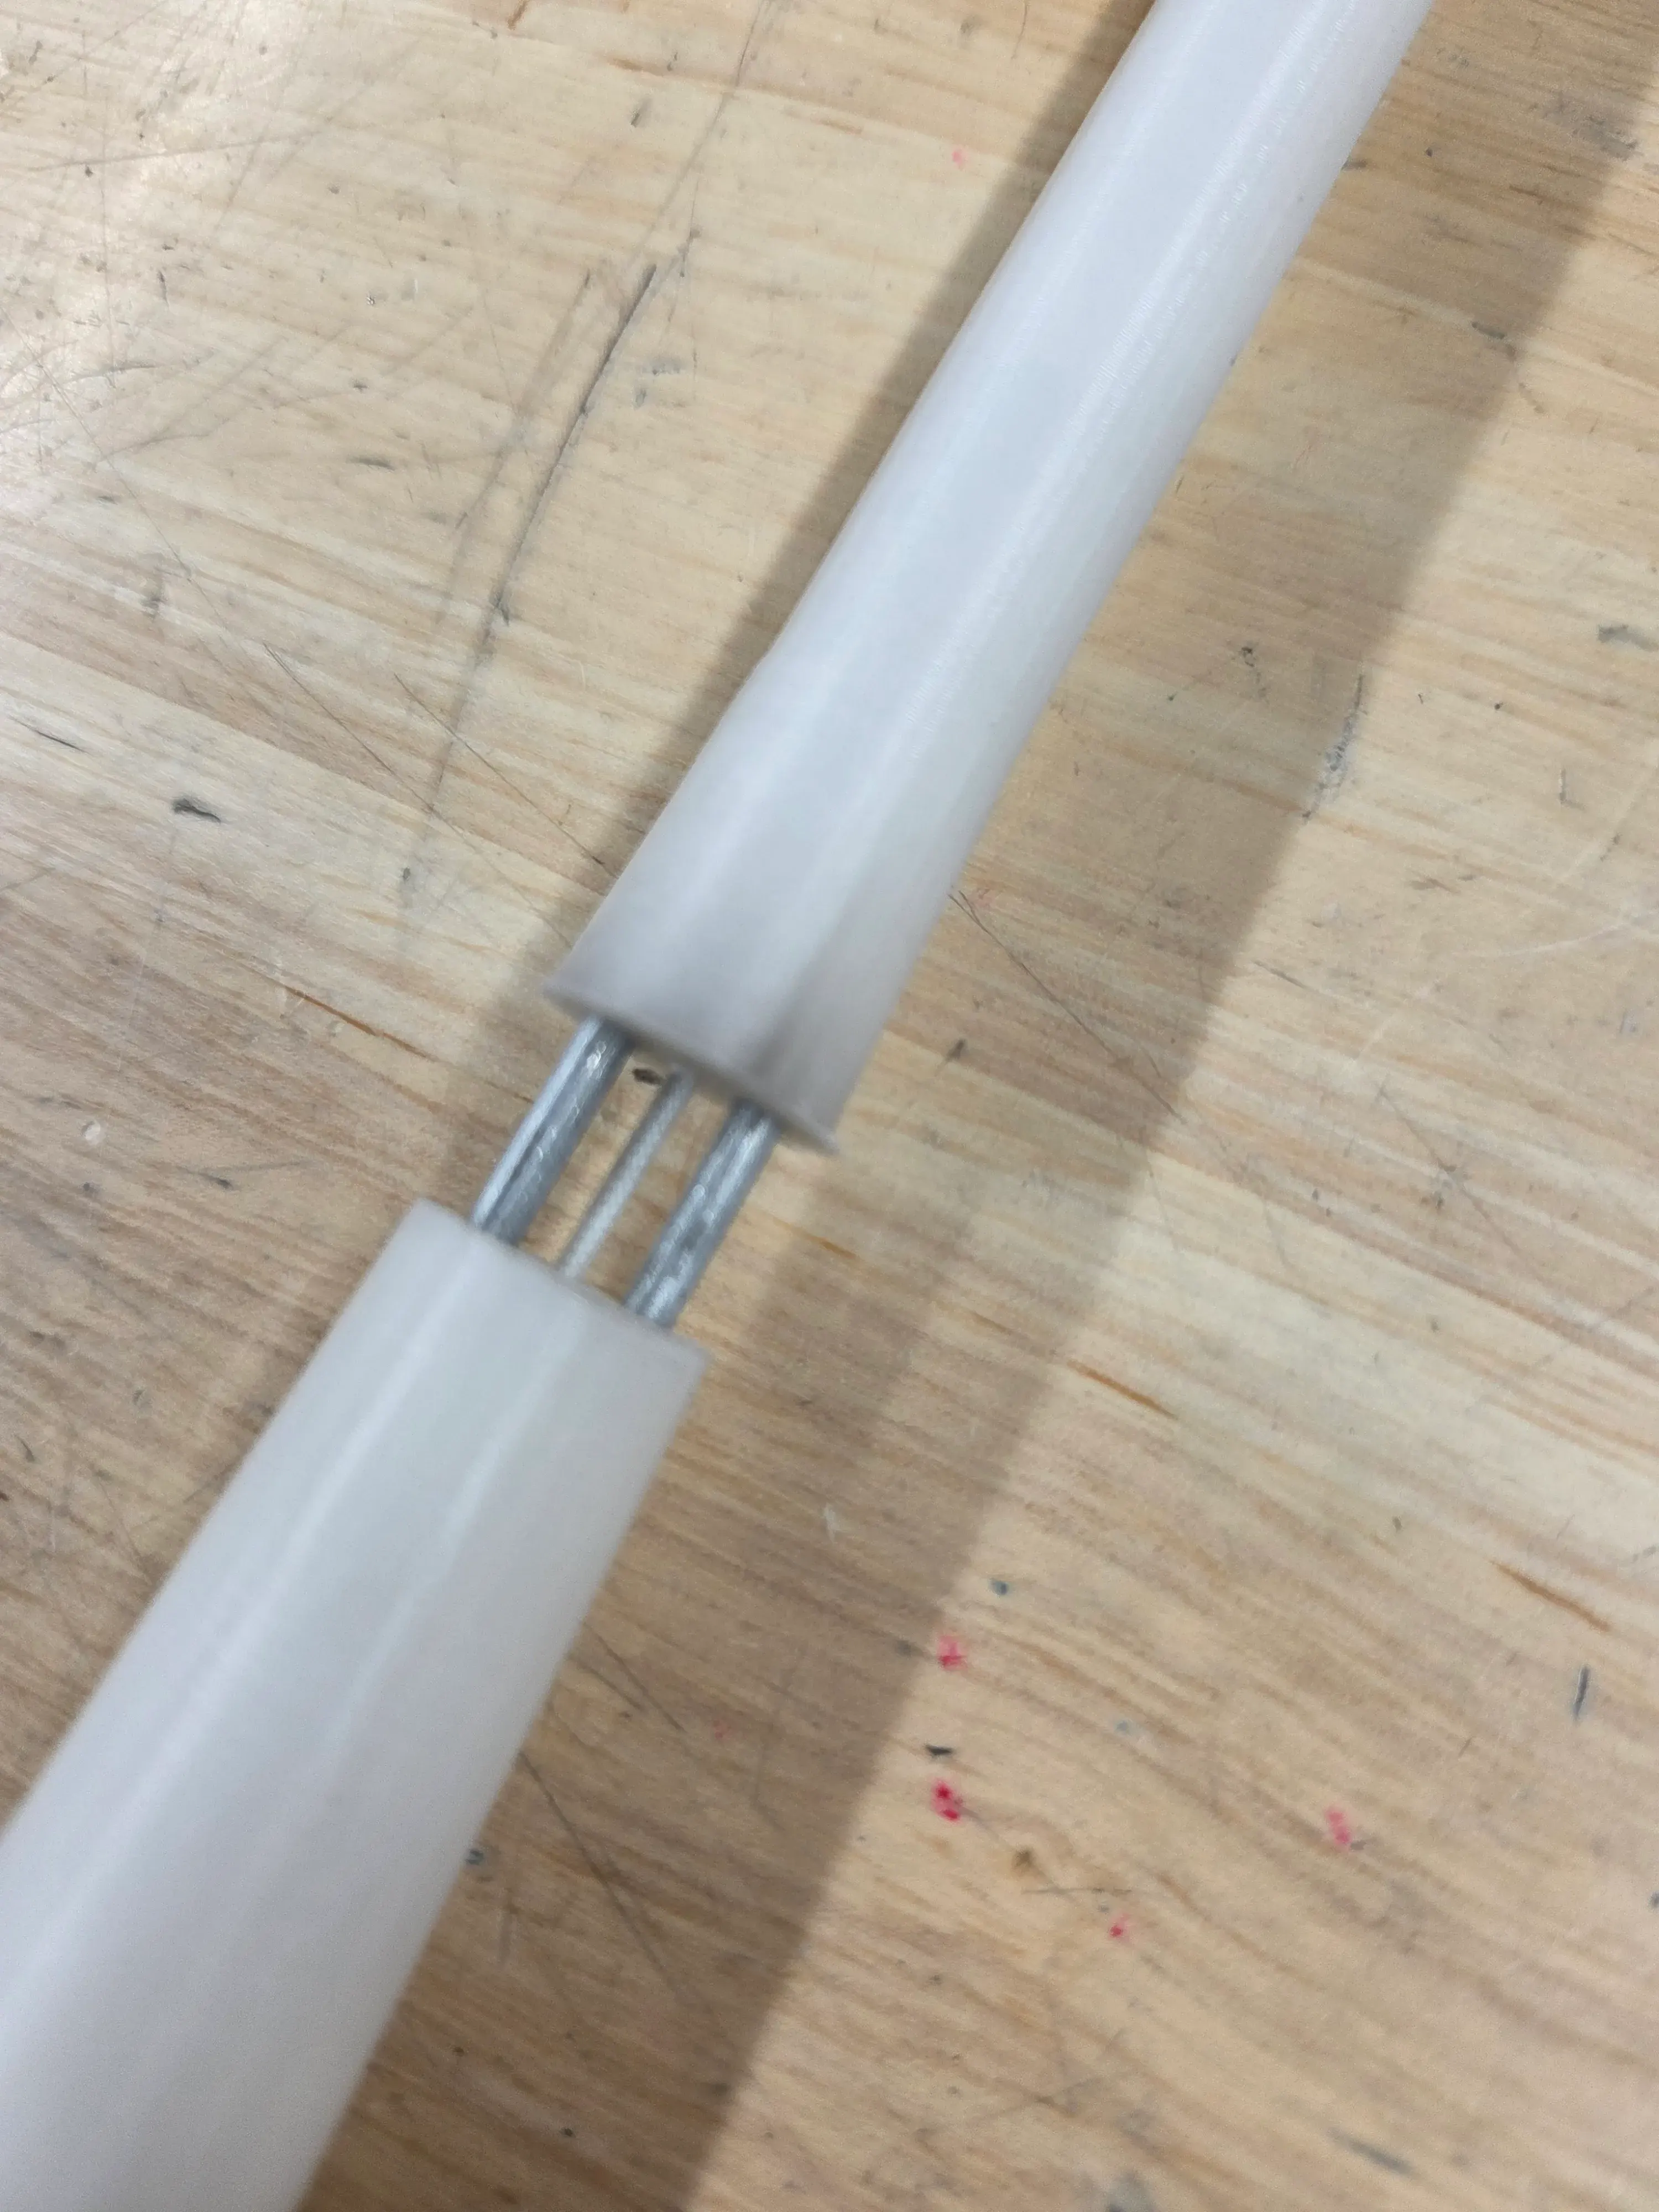
However, these sticks were still too heavy (43 grams) and had an unreasonable amount of drag/air resistance, so I had to optimize. Since there was plenty of empty space in the neopixel section, I decided to add a thinner pipe in that section (which also made the sticks look more like Sundia’s normal sticks).
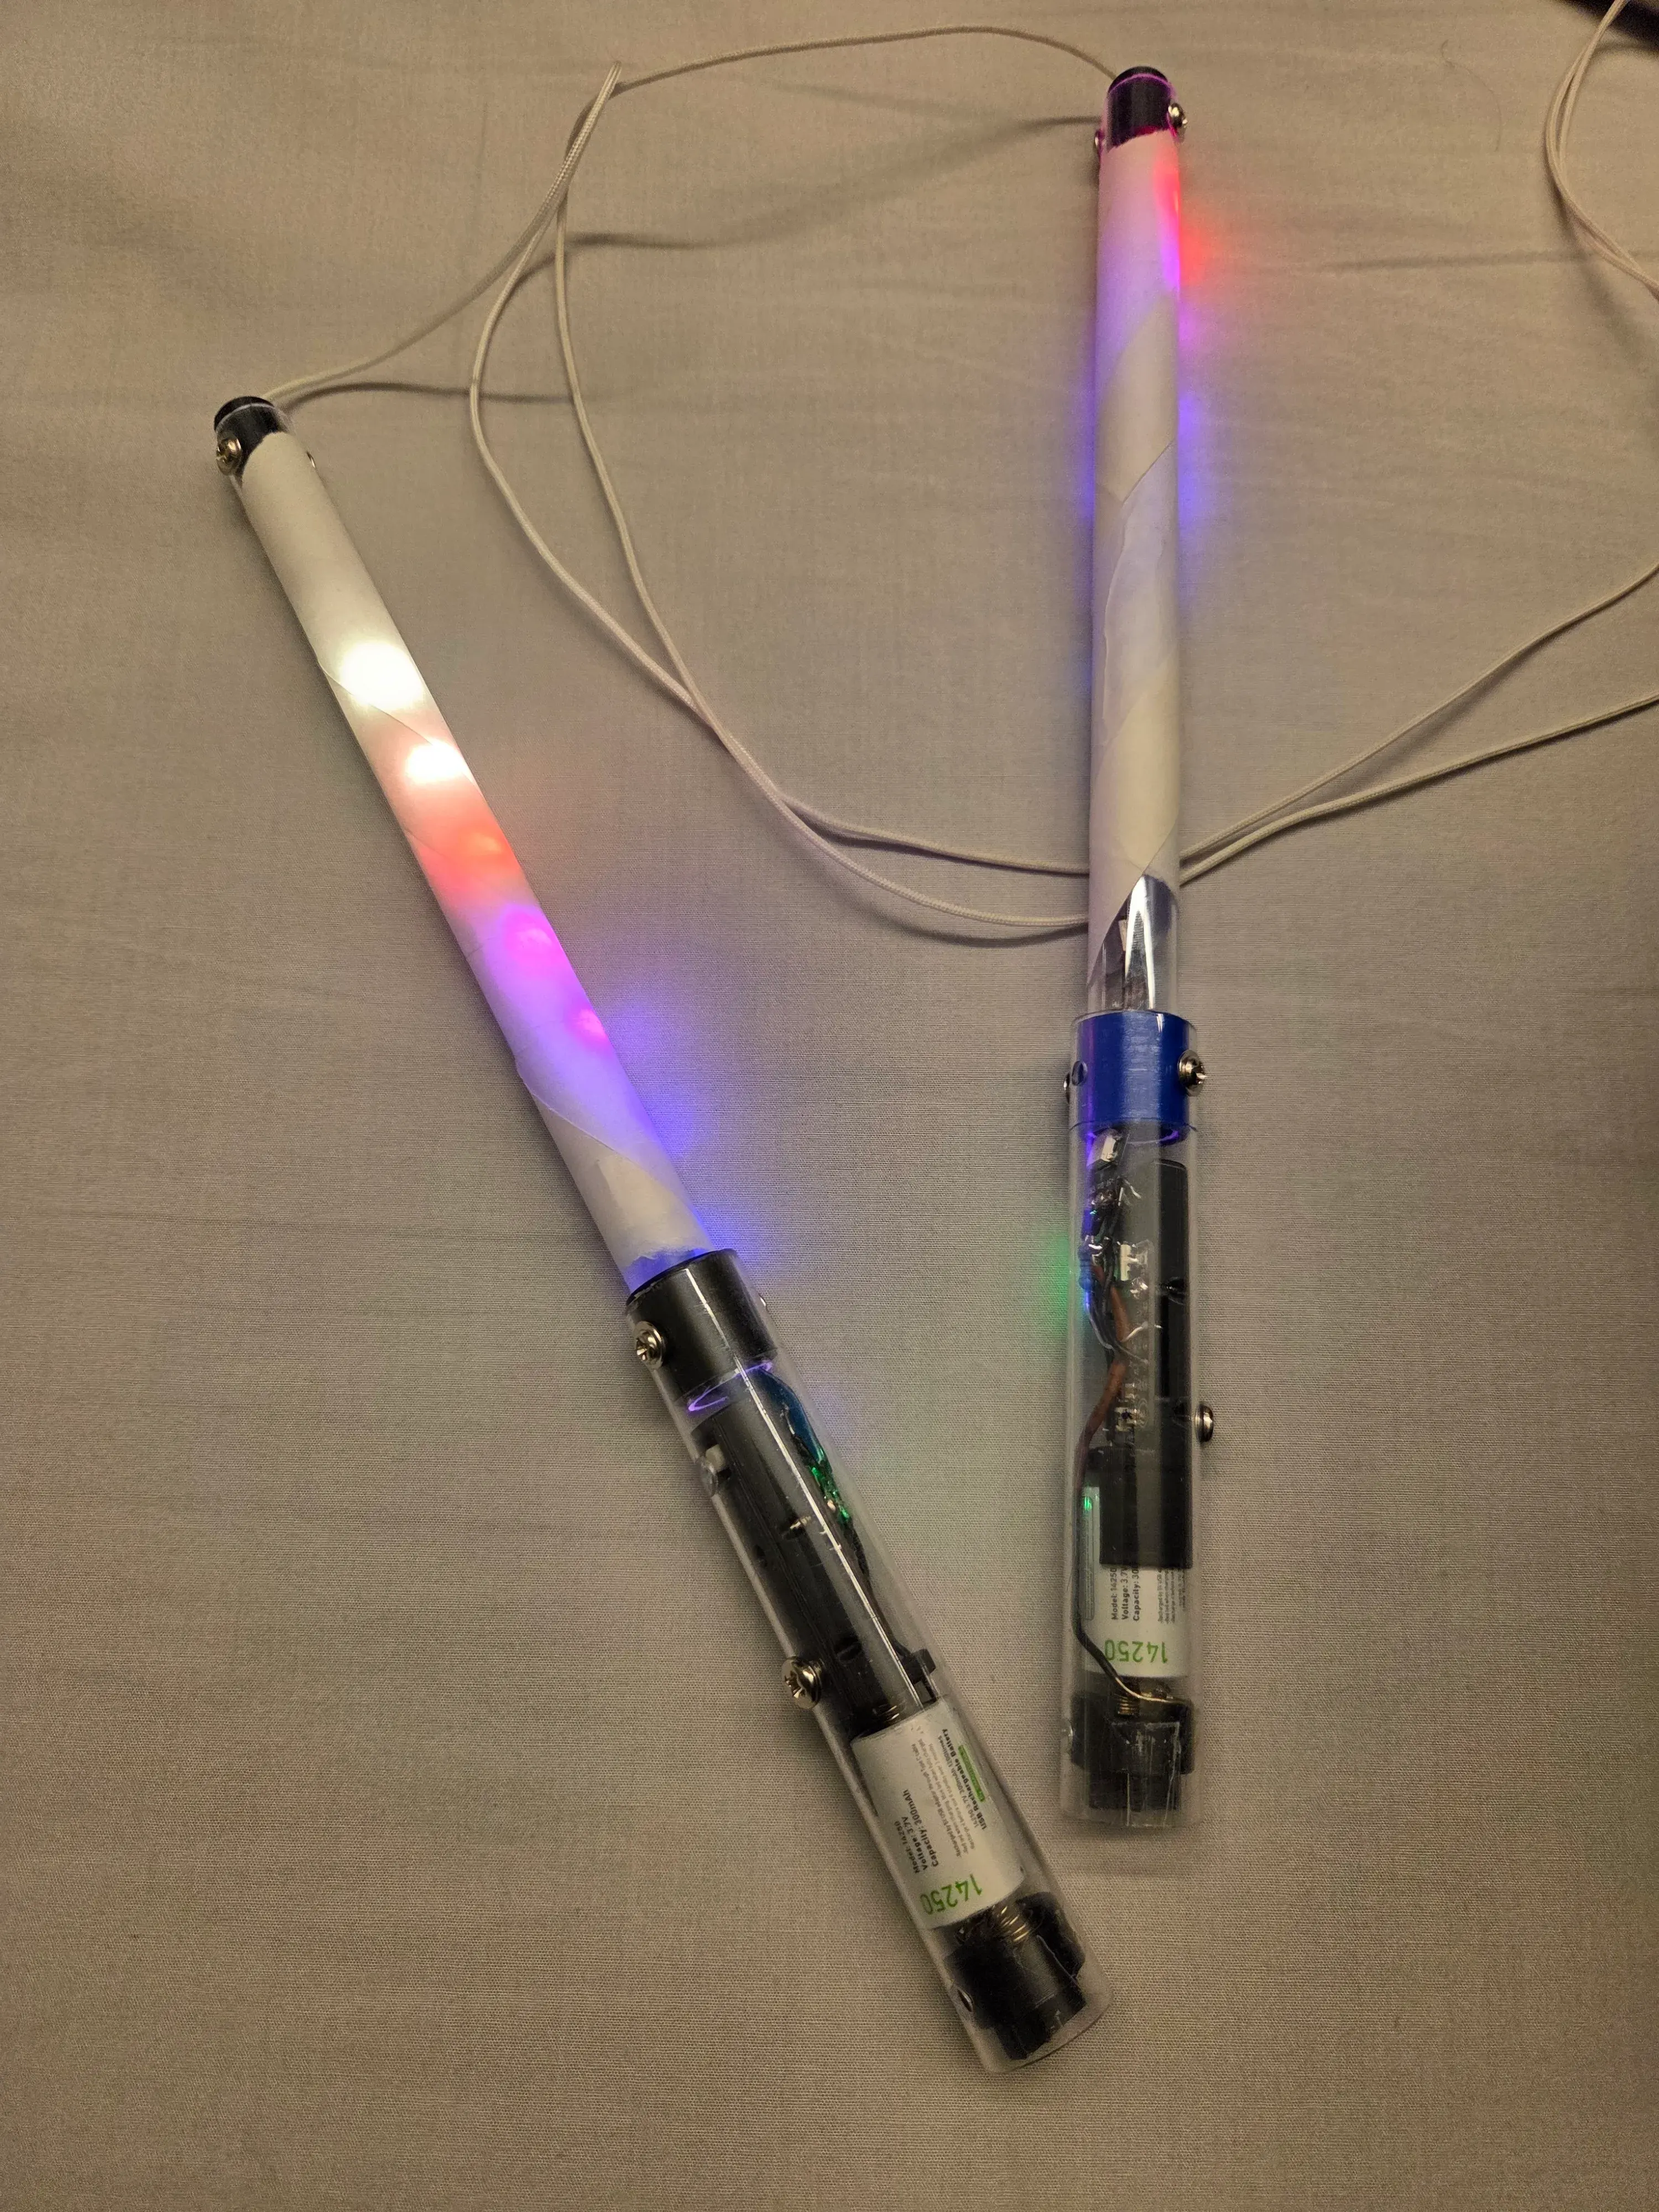
And that brings us to where I am today.
So what next?
I still have plans to make them better, since the drag/air resistance still feels off compared to normal sundia sticks. Here is a list of improvements that I’m planning to make sometime in the future:
- Fix the positive battery contacts
- Right now, the “contact” is just pressing the wire and metal plate together, which sometimes disconnects internally if you hit the stick too hard
- Use thin neopixels (5mm wide) and 6mm IDx8mm OD tubing for the thin part of the stick
- This may cause flex issues, since I’m already feeling some flex with the 11mm IDx13mm OD tubing
- Make a version with no microcontroller and static lights (to decrease weight/thickness)
- Add a rubber button “cover” (like you see on gamepad buttons)
- Right now, I have to use a screwdriver/something pointy to press the button, since it is fully contained within the stick
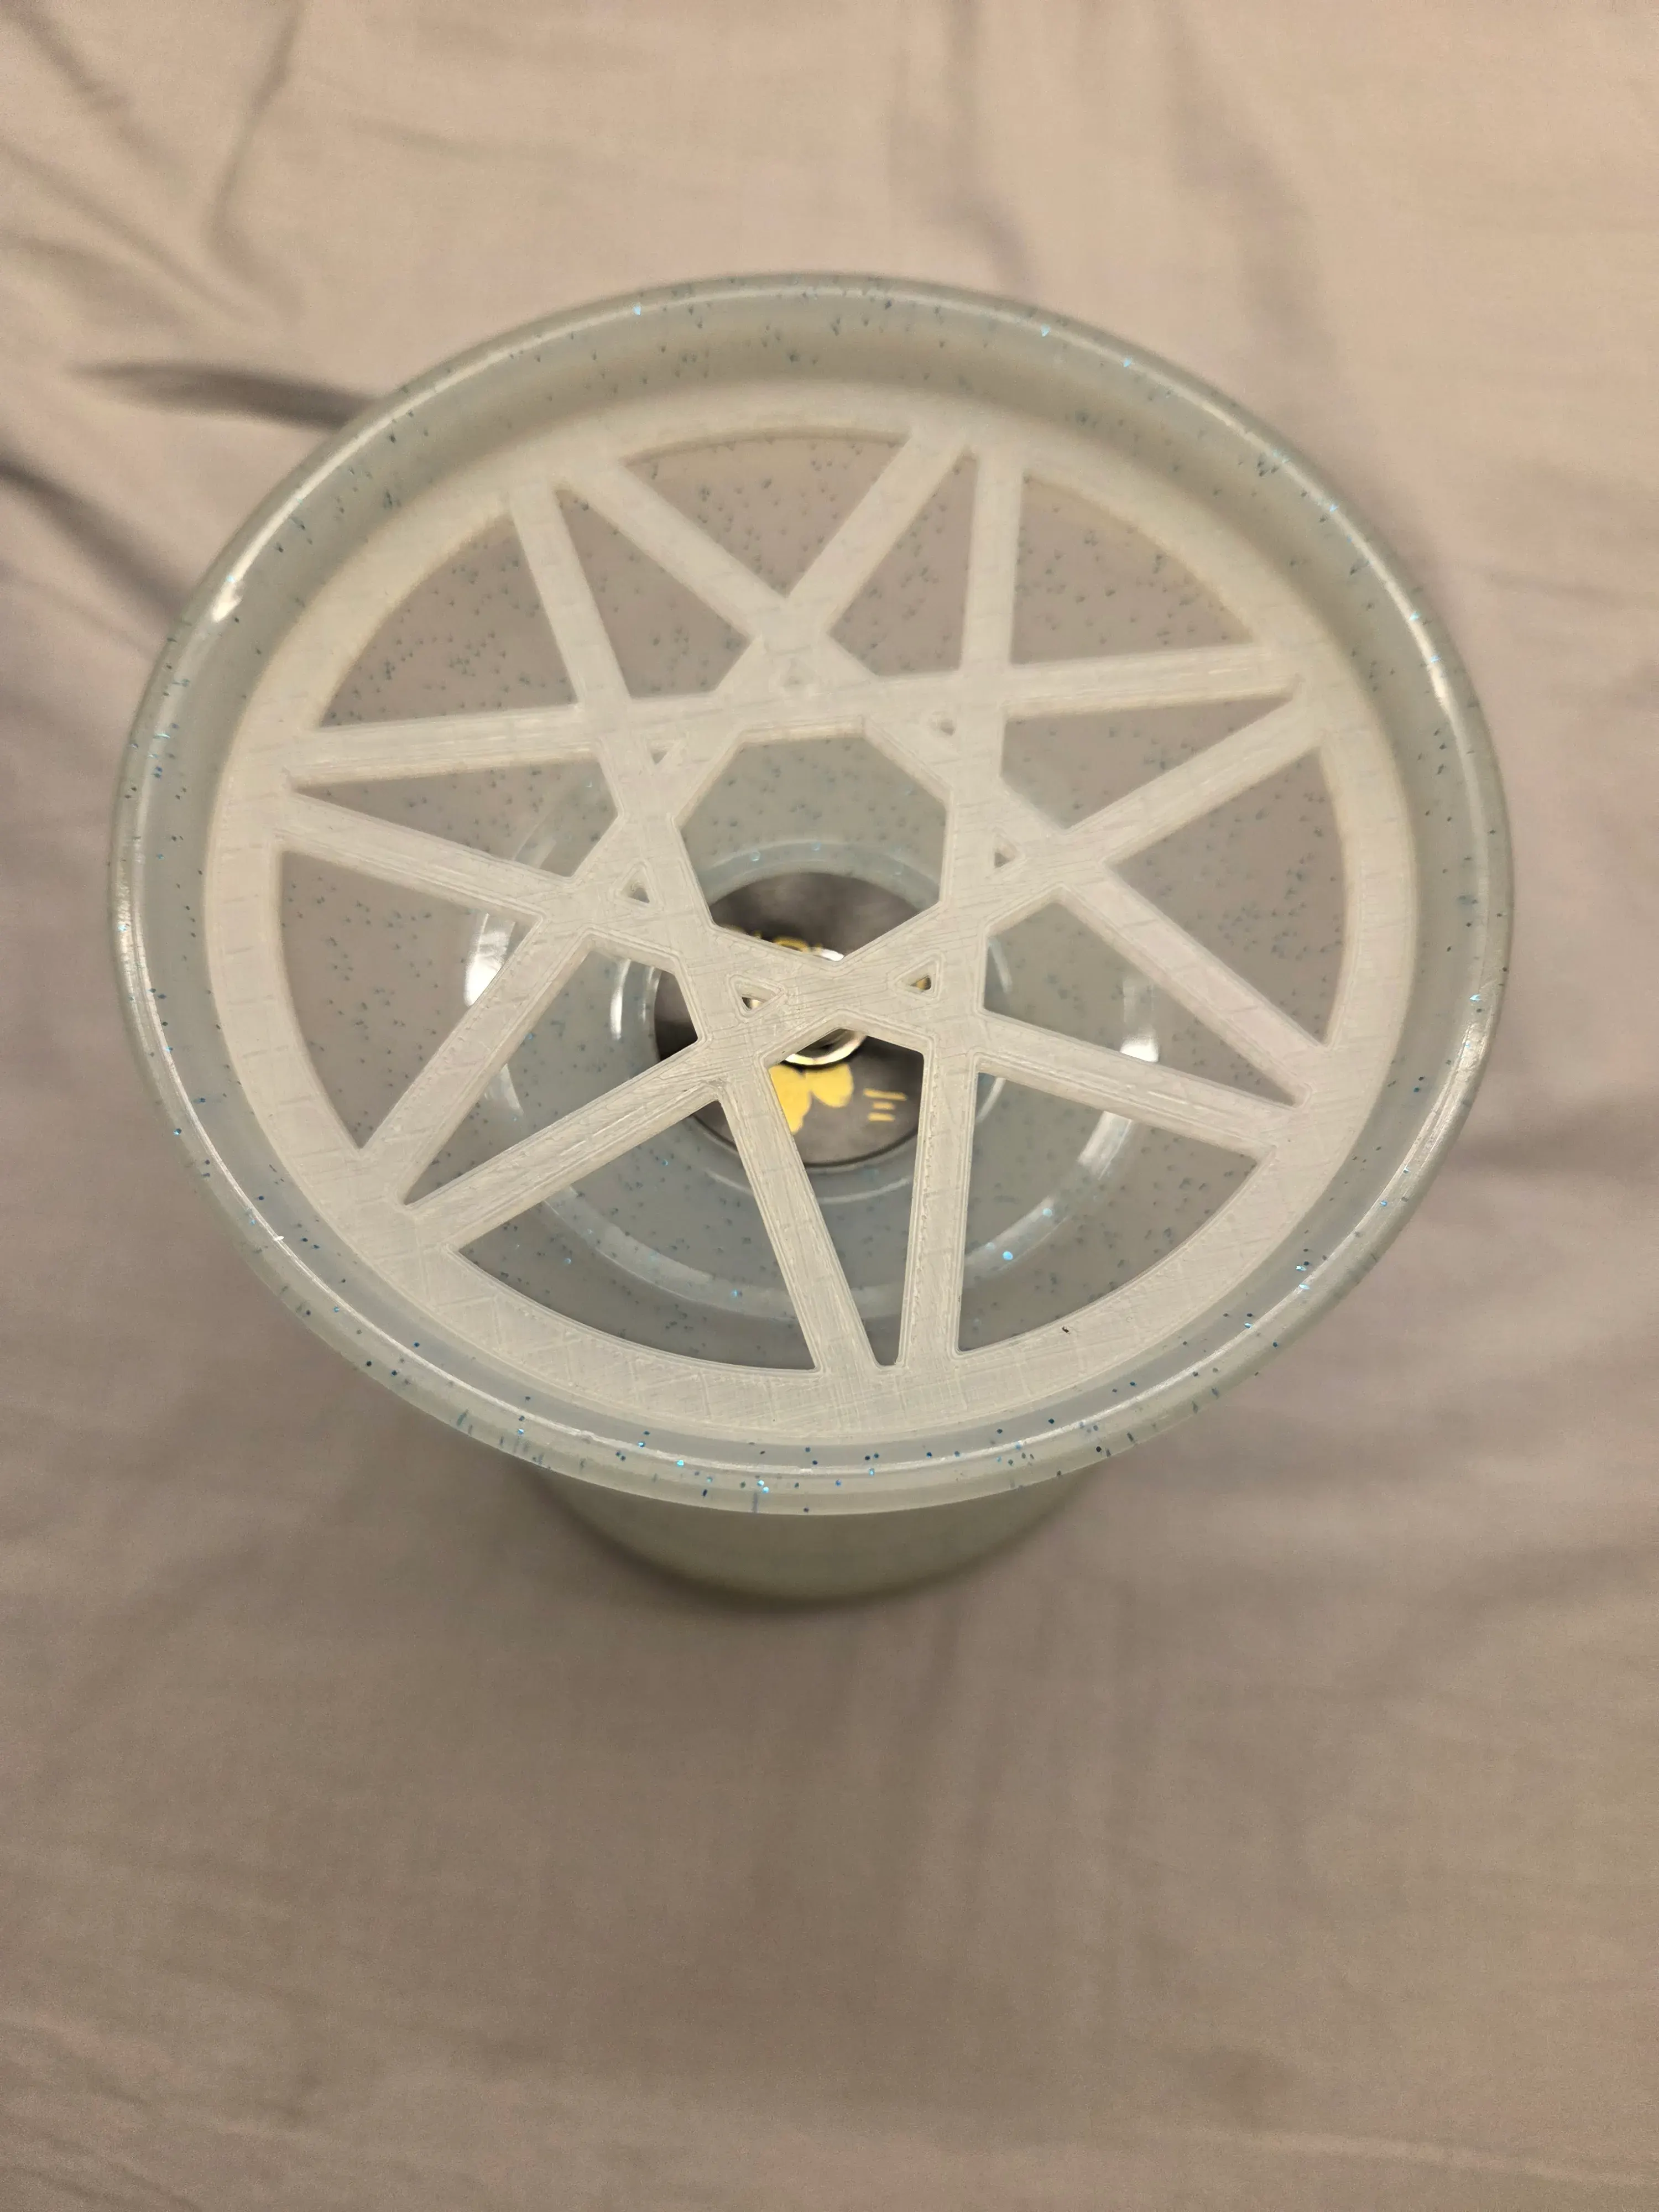
Side quest: magforce rings and hex driver
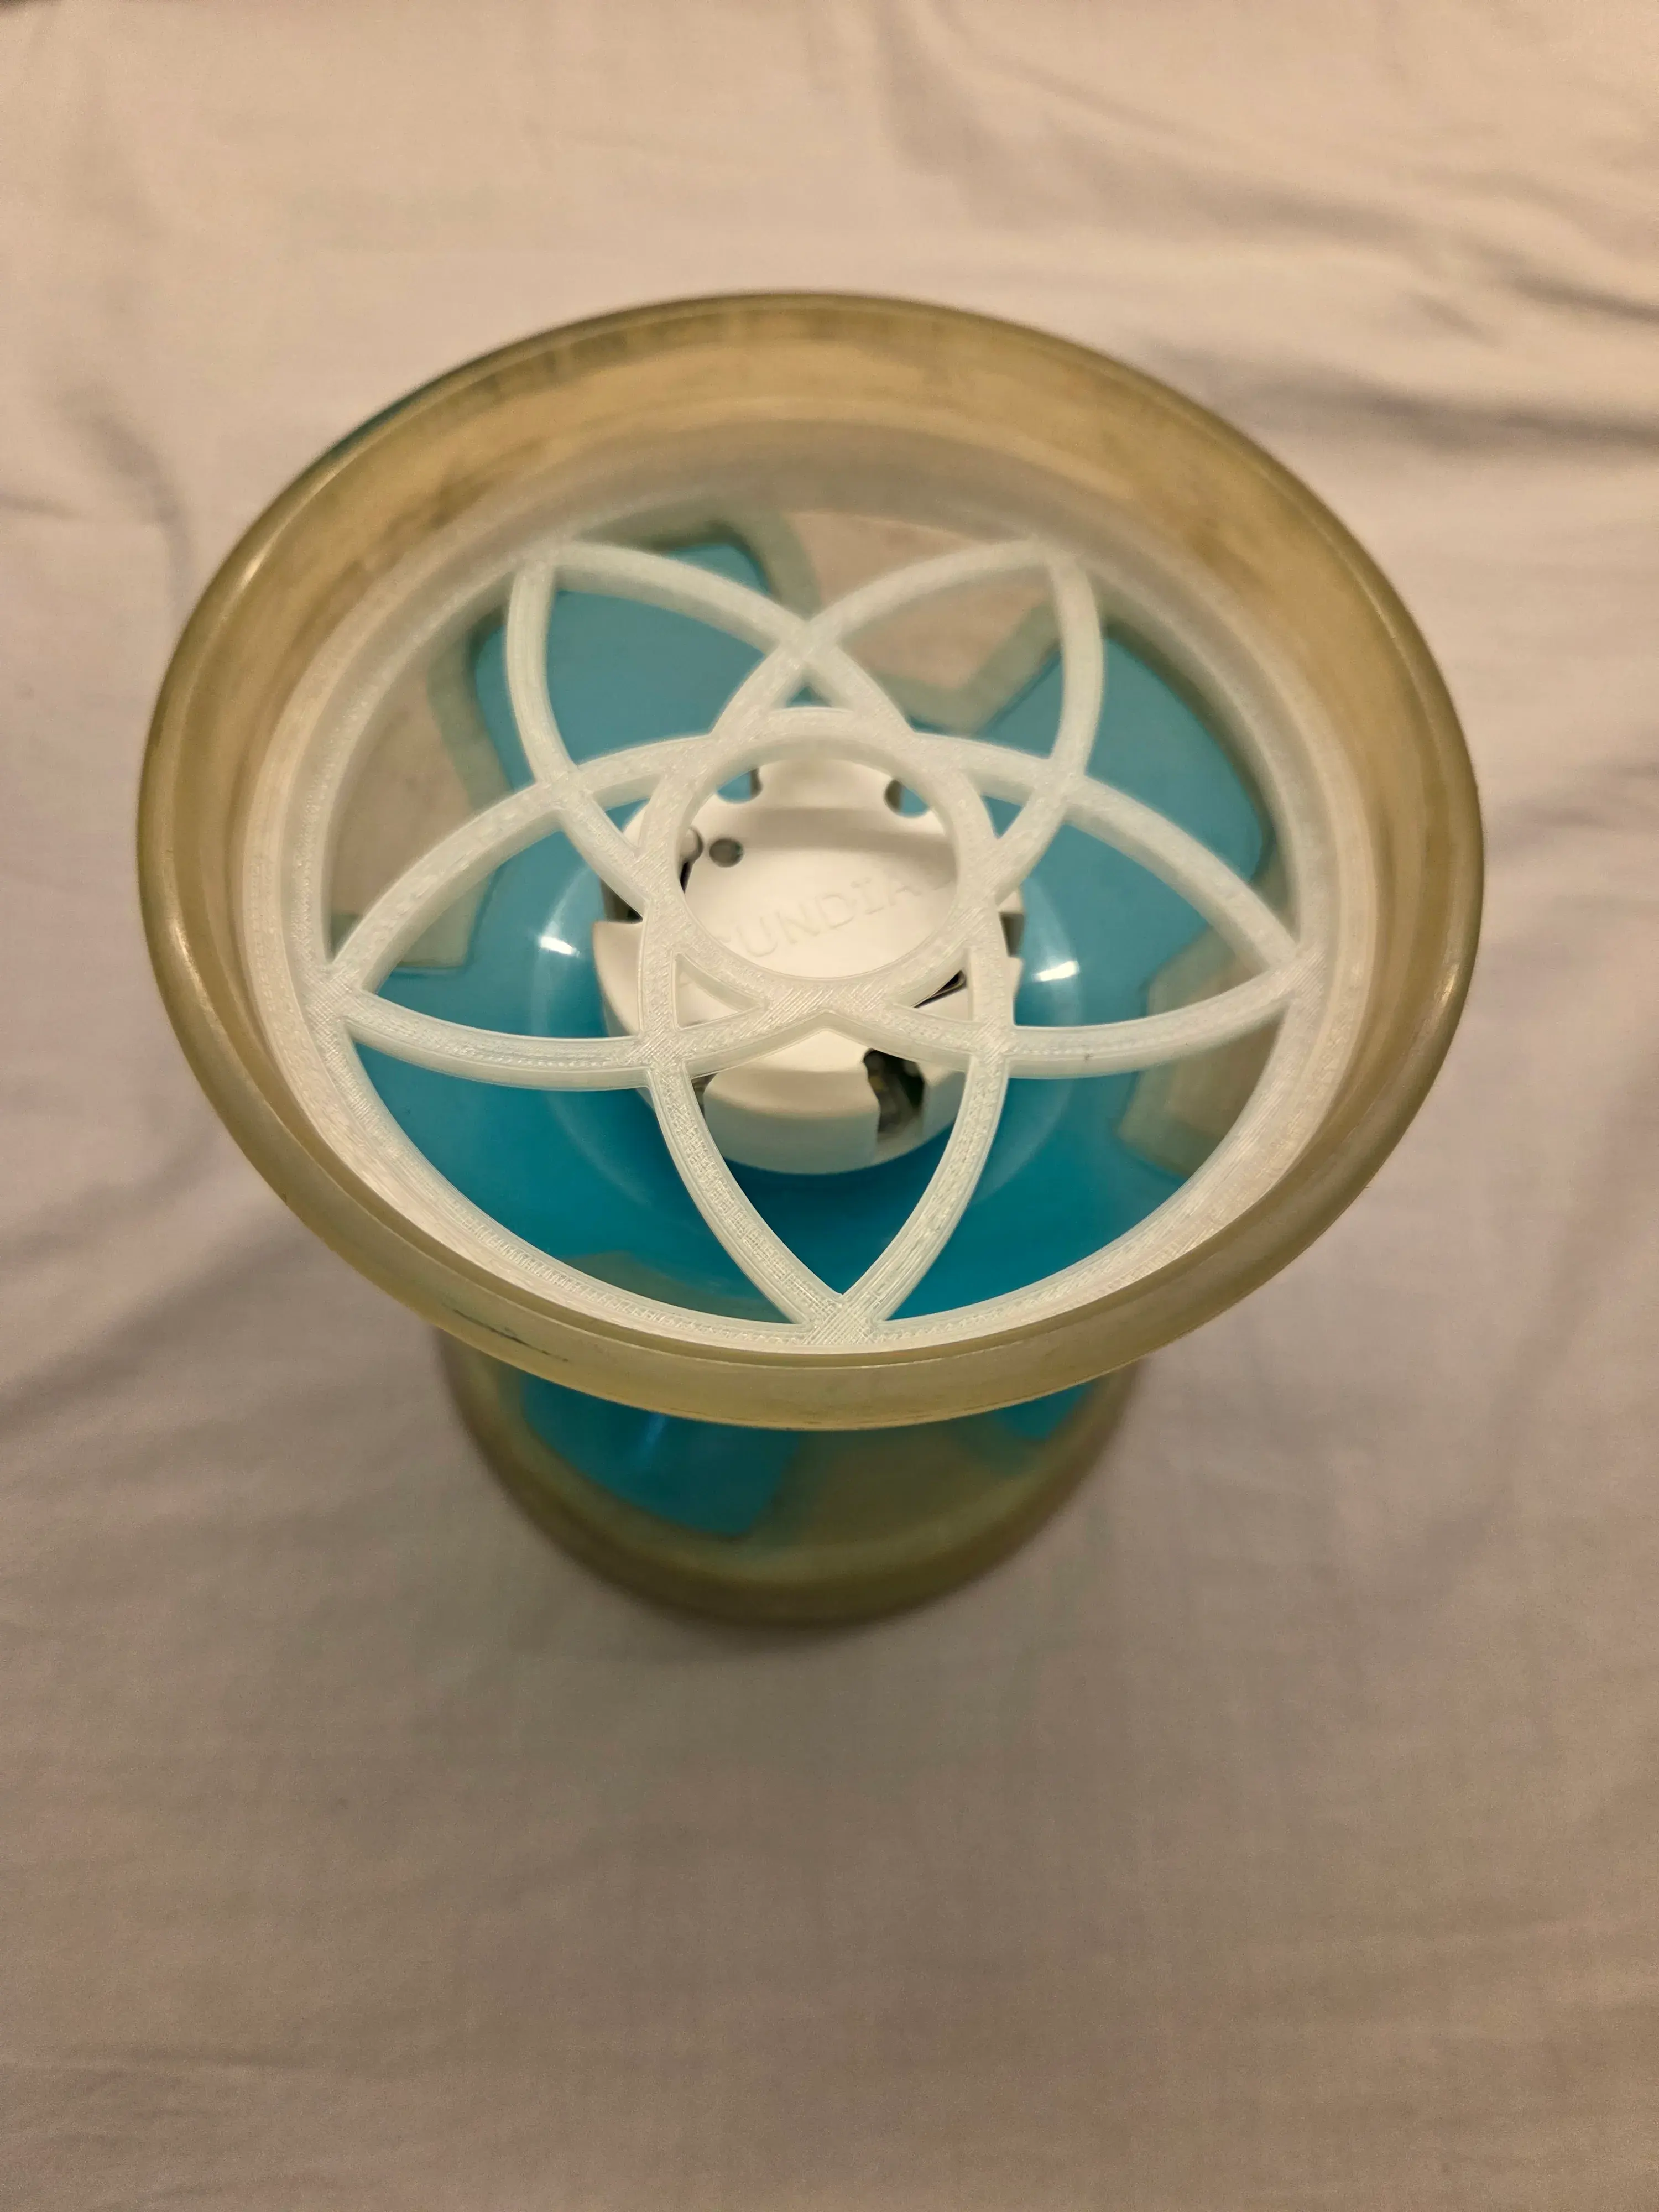
While at practice, I noticed that some TASC members used plastic rings for their magforces. However, the rings only came with certain magforces from our Sundia USA dealer, so I decided to figure out how to 3d print our own. One thing led to another, and I ended up designing rings for magforces, evos, and falcons. To be honest, designing the patterns in the rings took longer than tuning them due to my bad graphic/artistic design skills.
I also tried 3d printing a hex driver, but it’s not as good as a metal one and can strip with high torques, even with 100% infill. The cad file for it can be found here.